
Needler, Halo 4/Reach
The HALO Needler has been on my personal list of stuff I really want to make since I first played HALO: Combat Evolved back in college. The design has undergone a lot of changes in the past 12 years and 6 HALO titles it has appeared in, but it’s always remained one of my favorites. The complexity of this thing rivals that of my Daft Punk helmet replicas, and I couldn’t be happier with the results.
If you’d like to see the whole process unfold before your very eyes in a bit under 4 minutes, then watch as 1400 build photos fly by in this recap video! That’s seven months of project time you’re watching.
This blog entry is going to be a bit out of the norm from my prior articles, because I’ve actually already written the whole project up over at Tested.com. The Needer was commissioned as a series of DIY/follow along build articles, broken down into 13 segments. Below are links to each one, and they cover their individual topics with great detail. Re-posting them here would make a blog entry ten miles longer than my most bluster-filled long winded article, so in order to help from destroying people’s RSS feeds, here’s a list of links to peruse:
Introductions – Well, if you’re reading this you probably know who I am and what I do already, but here’s a refresher for that sort of person that read every page in a book down to the publisher’s information.
References and Blueprinting – Exactly what it sounds like: how I make my blueprints in Adobe Illustrator and how to gather references from videogames. Also included is information on scaling props proportionally into the real world.
Selecting Materials – Plastics, resins, wood, and glue. See what I chose to make the Needler out of and why. Also covered are some of my personal favorite materials that get used on nearly every project.
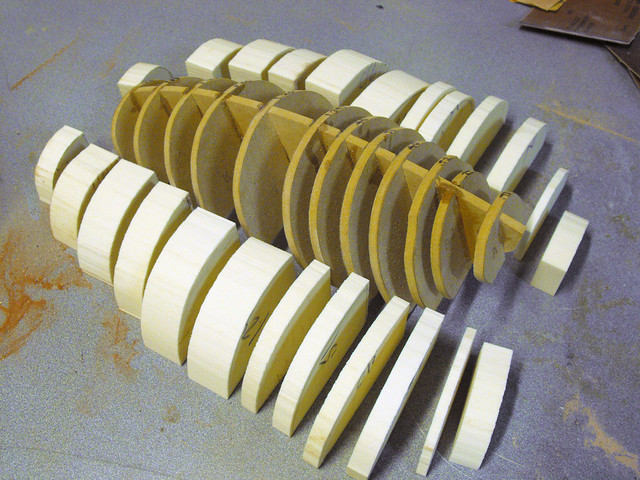
Taking Shapes – Details my “slicing” and “ribbing” technique for creating complex geometric forms.
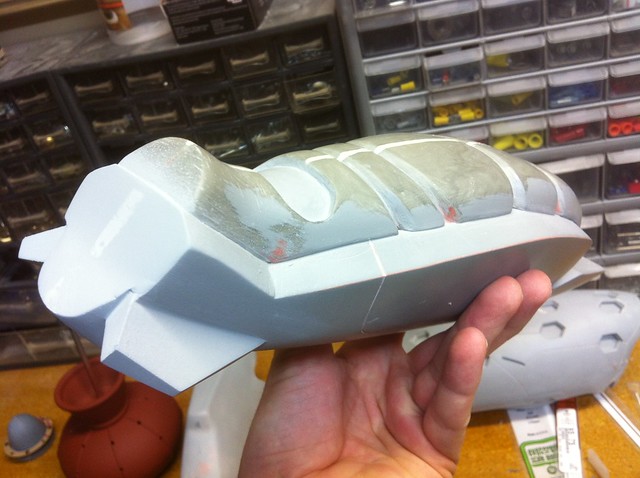
Bondo Strikes Back – Additional shaping of the above step, and how to create symmetrical details such as panel lines and indentations.
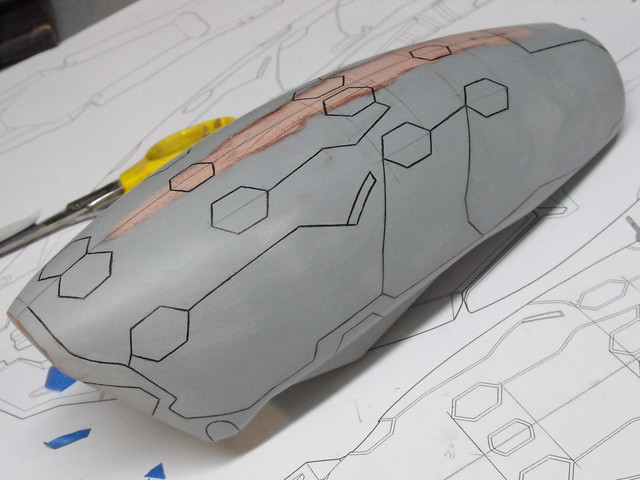
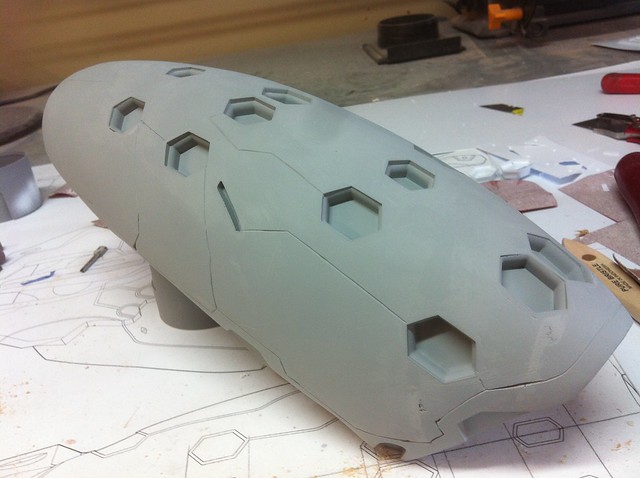
Details, Accents, Refinements, and Mockups – Taking basic shapes and adding in recessed areas, panel lines, and seamless intersections.
Introduction to Moldmaking – One and two-part block pour moldmaking

More Complex Moldmaking – Multi-part brush on molds with complex mold jackets.

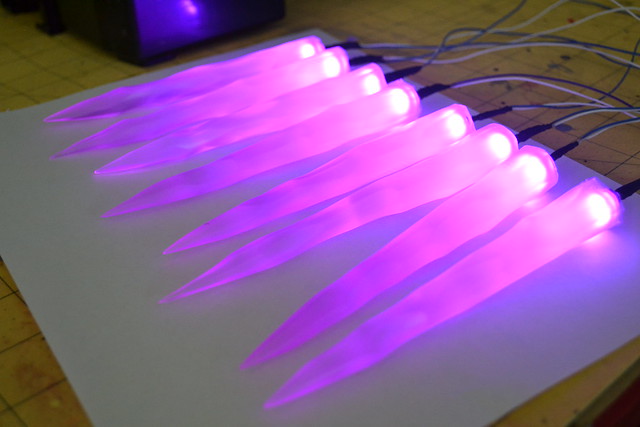
The Casting Process – Creating hollow, clear and tinted resin castings from the molds created for the project. This covers mold prep, slush casting, and various kinds of urethane resins.

Illumination and Audio – Electronics for illuminated LEDs and a simple audio circuit with embedded amplifier.
Prepping for Paint – Cleaning up cast parts, priming, and filling casting imperfections.
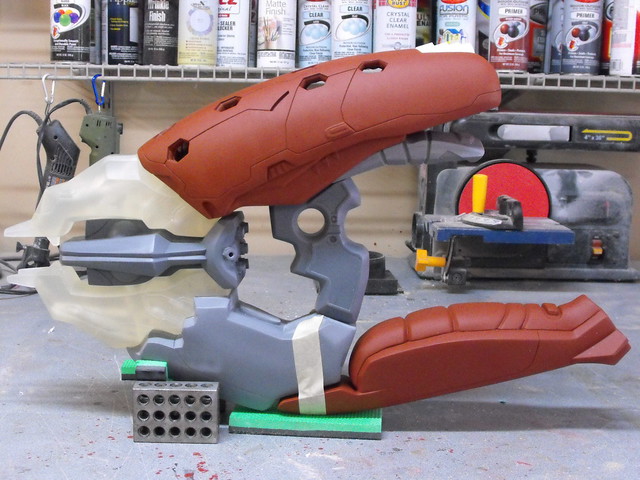
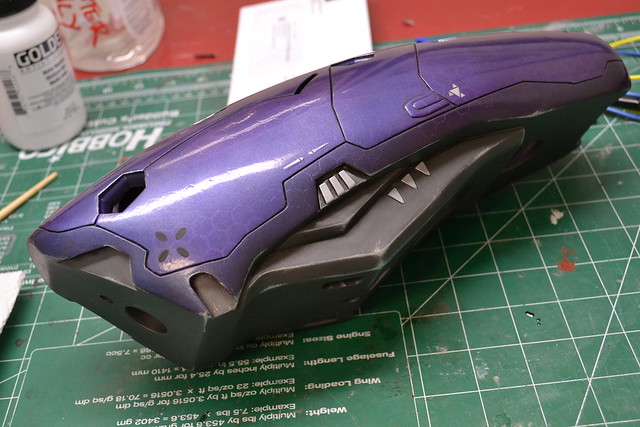
Finally Time to Paint – Basecoating primed parts, airbrushing, complex masking and clearcoat.
Weathering the Needler – How to avoid the “toy look” by making shiny new stuff look aged and worn.
Putting it all together – Epoxy, wiring, soldering, nuts, bolts and screws. Time to make all these individual parts into one complete Needler!

Lessons Learned – Most of the time I really have no idea what I’m doing. Here are a few tips to avoid some of the mistakes I made, as well as a few personal favorite hacks from my bag of tricks.
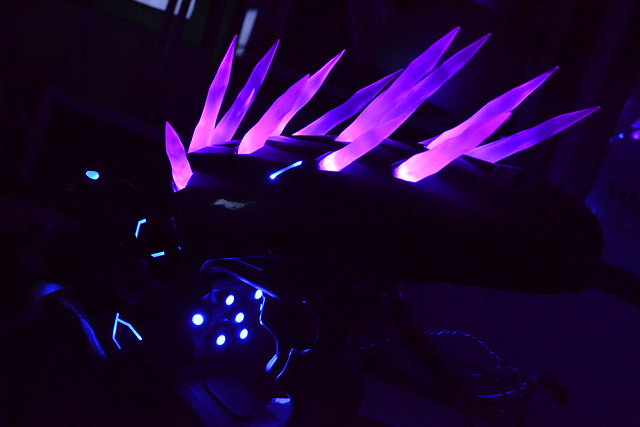
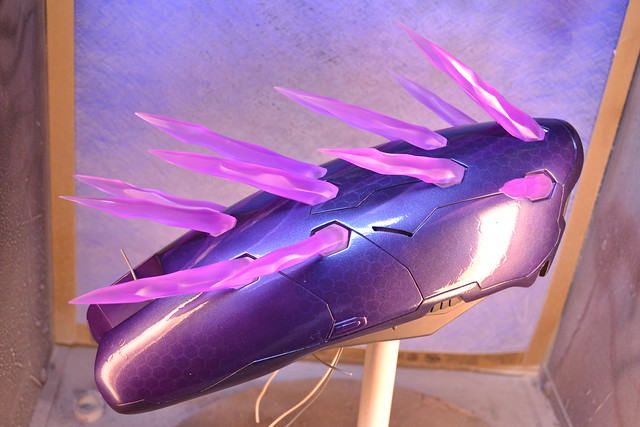
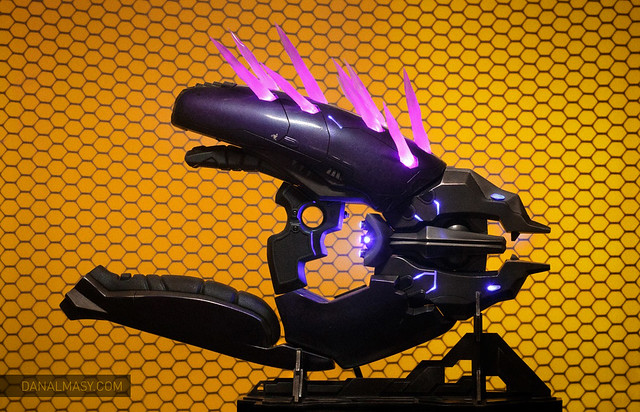
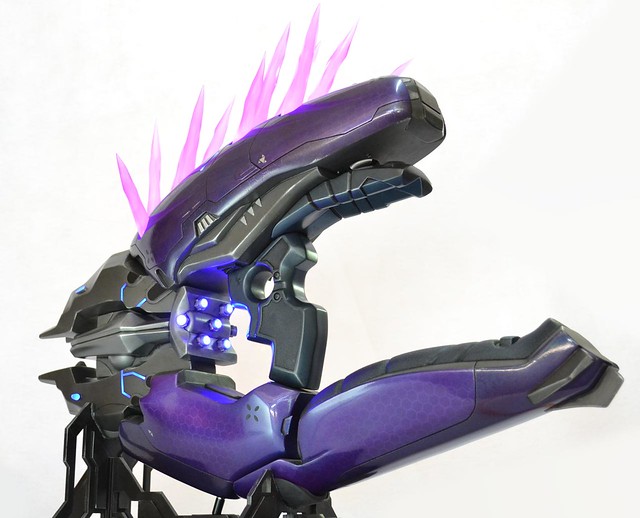
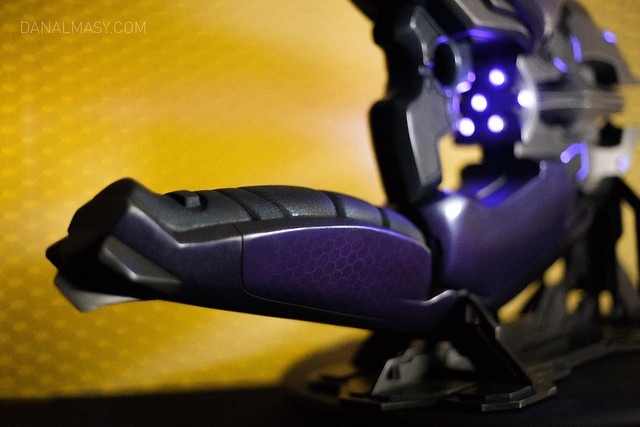
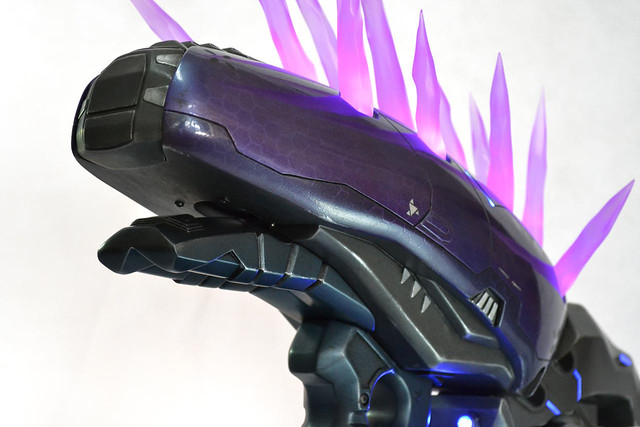
Here’s a few fancy shots of the finished product – watermarked pictures courtesy of Dan Almasy. You can find higher res shots of the finished Needler in my portfolio gallery.

It’s a very fortunate artist who gets to select the works they are commissioned to build, and I can’t thank the guys at Tested.com enough for sponsoring this project. The Needler is something I’ve wanted to bring out into the real world for a very long time now, and I hope the articles above help you to bring your own creation to life as well. As always, thanks for reading!