
Scissor Blade, Kill la Kill
You gotta love anime. If nothing else, it’s creative. The Scissor Blade is one half of an enormous pair of scissors, used like a sword by the main protagonist of Kill la Kill to wage war against sentient clothing in order to avenge the murder of her father. It’s also bright red and very cool looking. I had to build one.

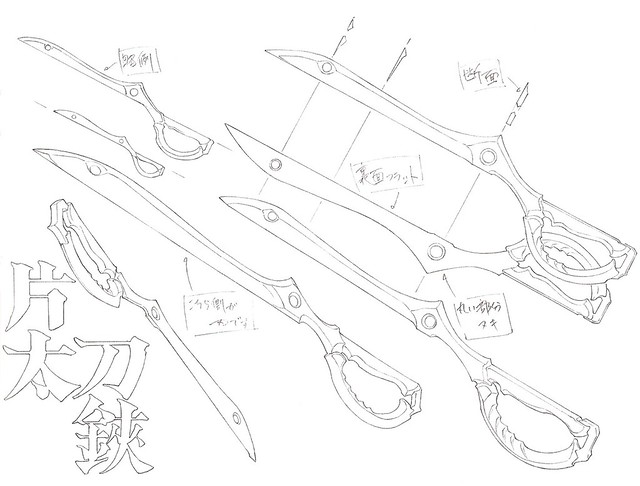
I started off with some 2D blueprints, using references from the show concept illustrations as a guide for scale. These were also used as references for the overall shape, as hand drawn animation varies wildly from frame to frame.
1/4″ MDF made up the main blade portion, with some 3/8″ pieces cut out for the handle sections.
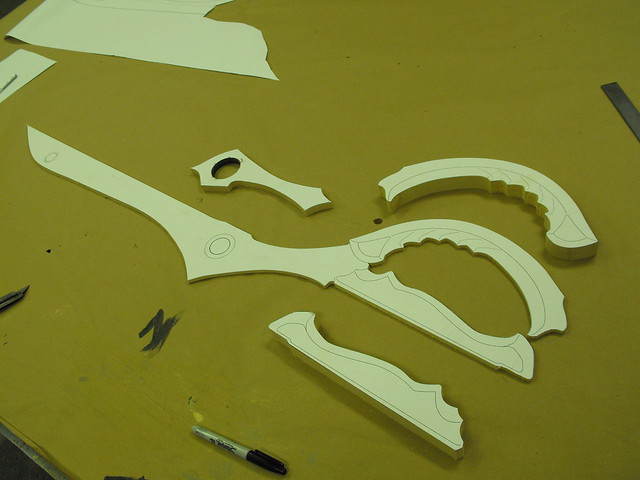
Edges were trimmed with a rotary tool and belt sander, then refined by hand sanding.
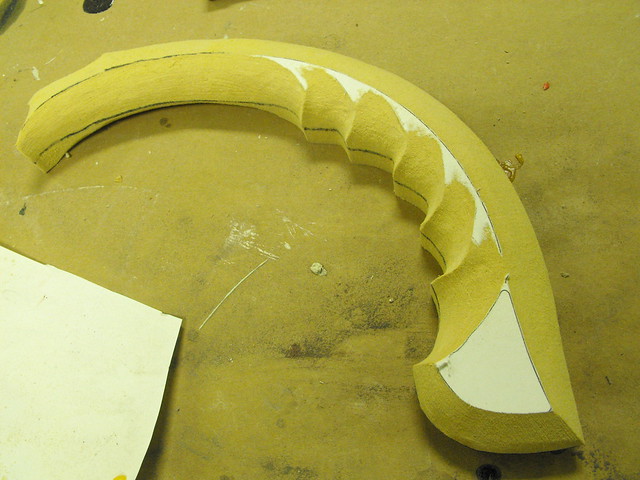
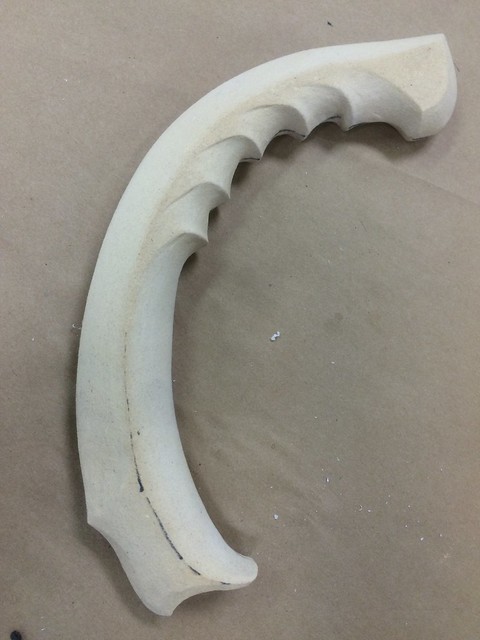
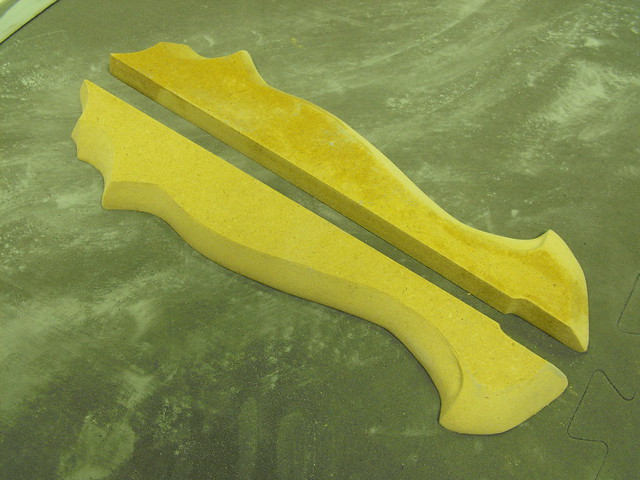
I temporarily stuck the halves of the handles together with double sided tape so the profiles would be identical during shaping. After this was finished, they were split in half and glued to the 1/4″ sword center section.
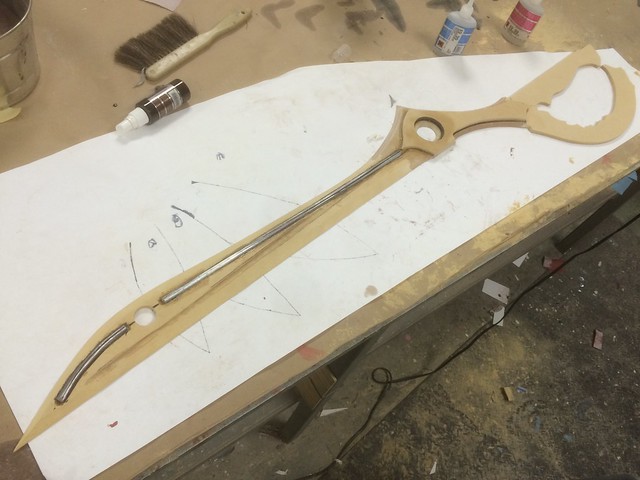
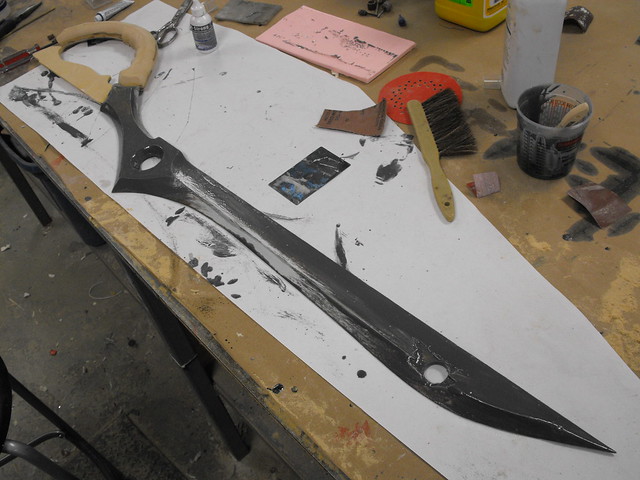
In order to keep the blade stiff, I glued a 1/4″ steel bar onto the thin MDF. This was then beveled into shape with apoxie sculpt.

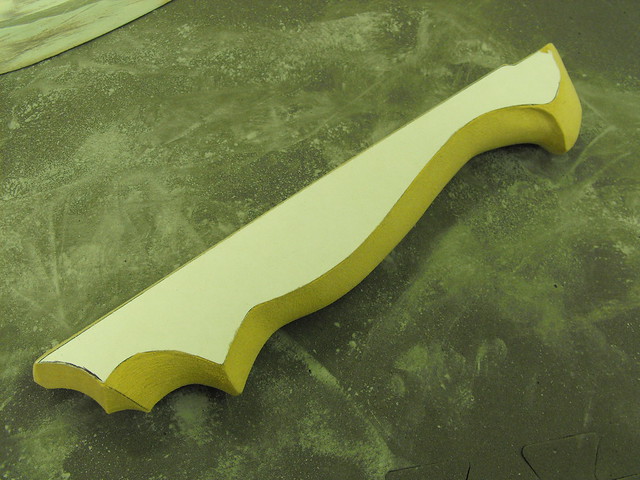
The blade is very thin, and unlike a sword it’s completely flat on one side. Scissors have to be sharpened this way in order to cut material. I decided to keep this sculpt true to that fact (which is also how they drew it in the anime, but they almost never show the back side since it’s very boring and flat!) Making MDF this thin turns it into a crumbly mess, so I painted the blade portion with urethane resin to give it added density.
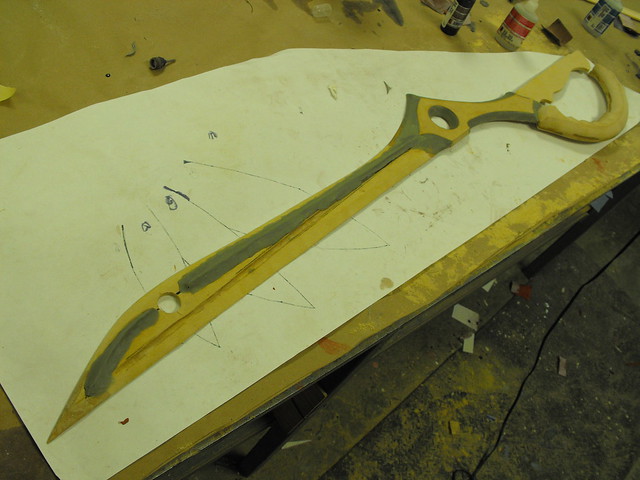
Many passes of bondo, sanding and primer followed as the shape was refined and smoothed out.

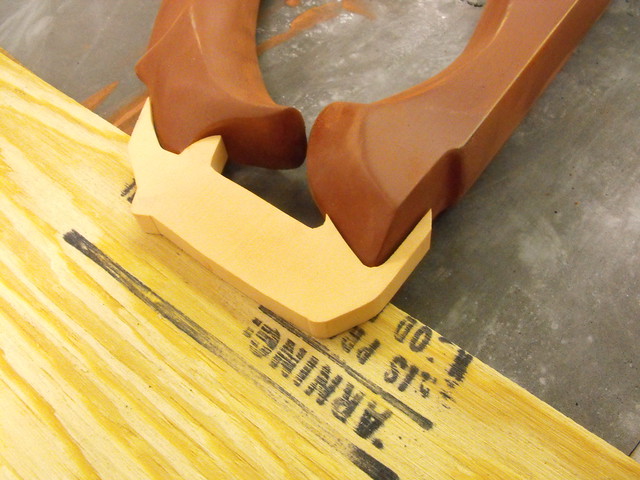
The small hinge part on the handle was cut from a block of urethane foam. This would be cast separately to hide the pour spout on the blade.
After the last coat of primer, the blade was wet sanded and waxed in prep for moldmaking.
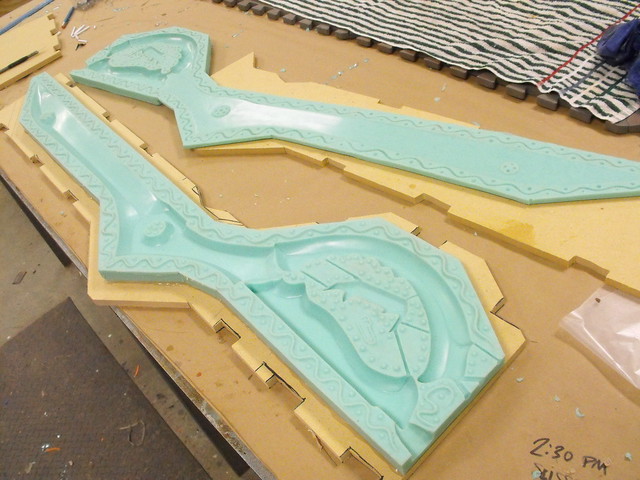
I decided to mold this as a large box pour. The scissor was supported by some wood blocks to ensure it was level, then a clay dam was sculpted to the blade edge to create a parting seam.
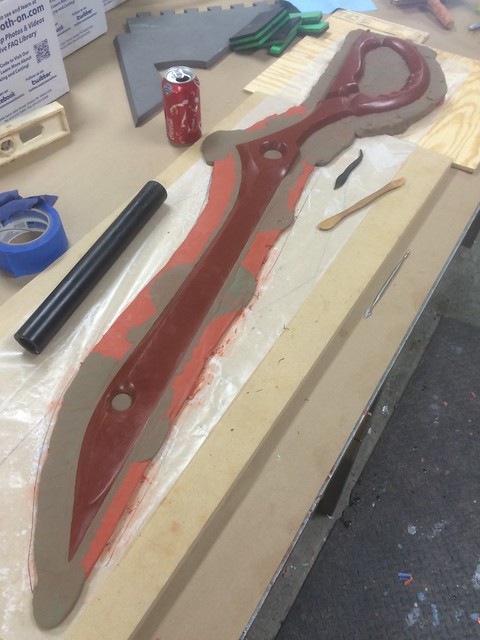
Foamcore panels were cut and hot glued in place to create the edges of the mold box, then registration keys were cut. The squiggle technique is something new I’m trying out, seems to work pretty well so far!
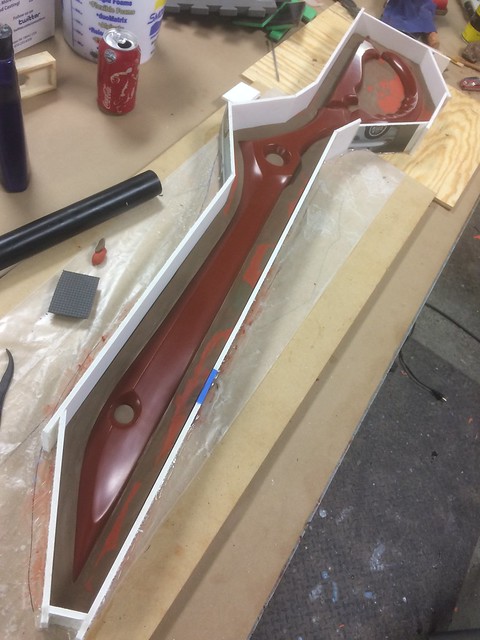
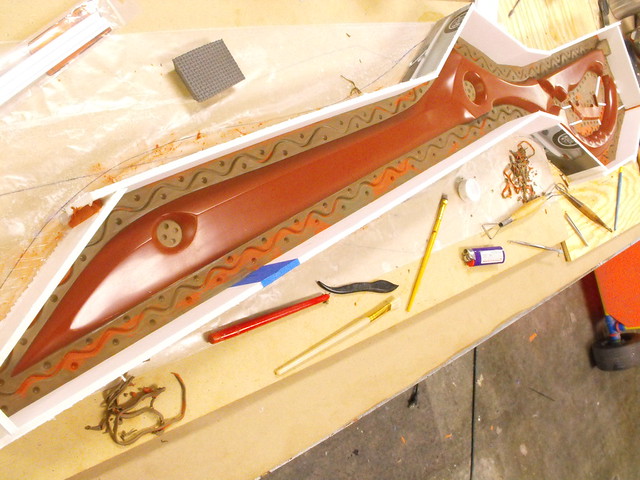
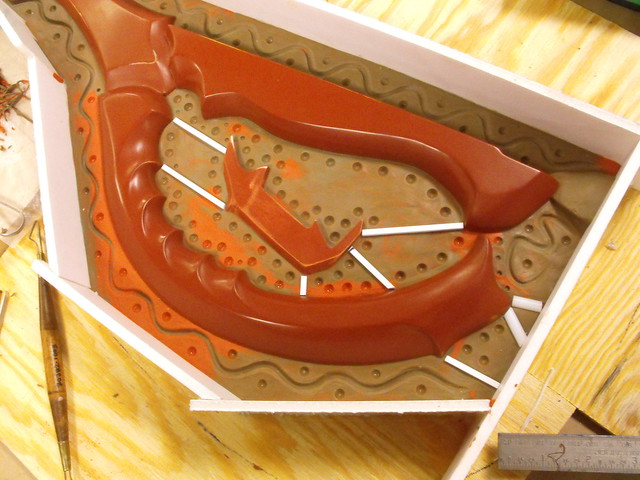
The small hinge piece can be seen on the blade handle interior in this shot. Square styrene blocks stand in place here as mold sprues. As the casting is filled with resin, these channels will also fill in the small hinge part.
The first pour. I’m using Smooth-On’s Mold Max 40 silicone for this mold.
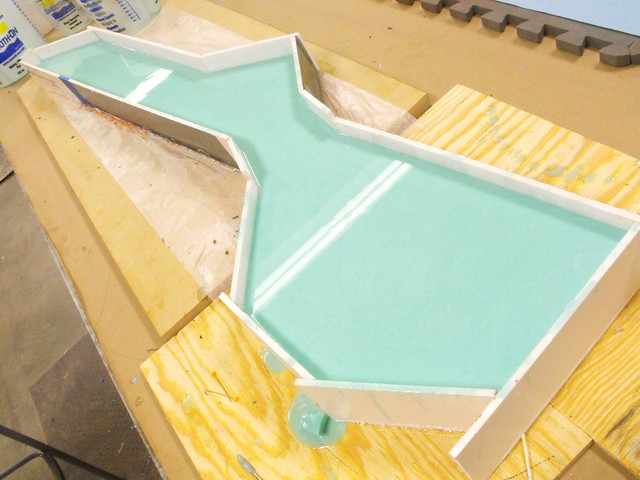
After the first half cured (24 hours) the mold was flipped over and the clay removed.

Mold walls were re-made and the second half of the silicone was poured.
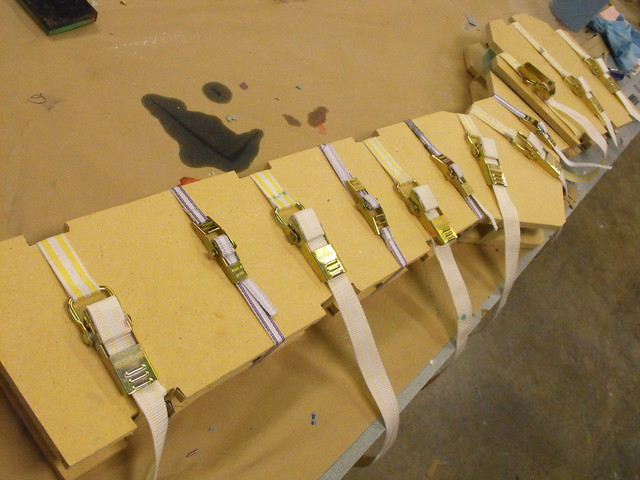
To keep things aligned and square, I cut two large panels of MDF to sandwich the mold. These are held firmly in place with cam lock mold straps.
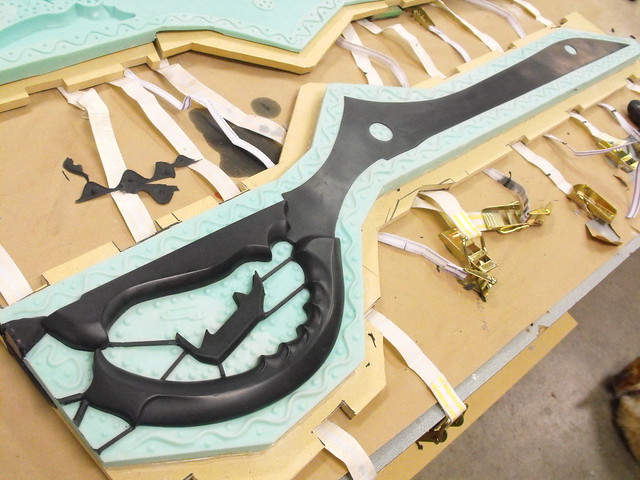
Here’s the first pour! This was done in Smooth-On ONYX urethane resin. I chose this because ONYX is slightly more rigid when cured, and I was hoping the blade would be dense enough to hold shape. It turned out to be a little wiggly. Not bad, but not what a sword should be.
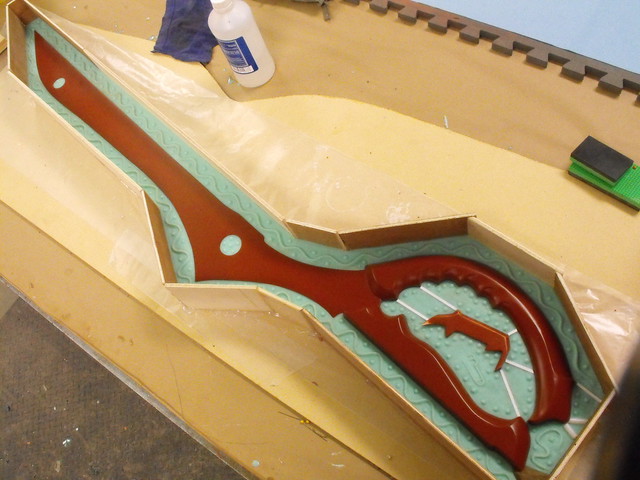
For the next cast I poured 4oz of urethane into the mold and allowed it to cure. A bent metal rod was then placed on the cured plastic, then secured in place with more urethane and allowed to set while the mold was assembled. This was done with Smooth Cast 320.

Afterwards, the remainder of the blade casting was poured. You can see the separate stages in the different colors of this casting. The finished part was way more rigid. If you’re interested in painting your own, I have castings available here!
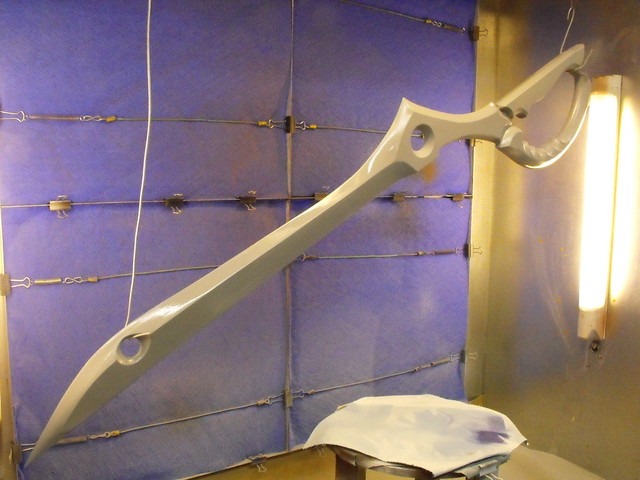
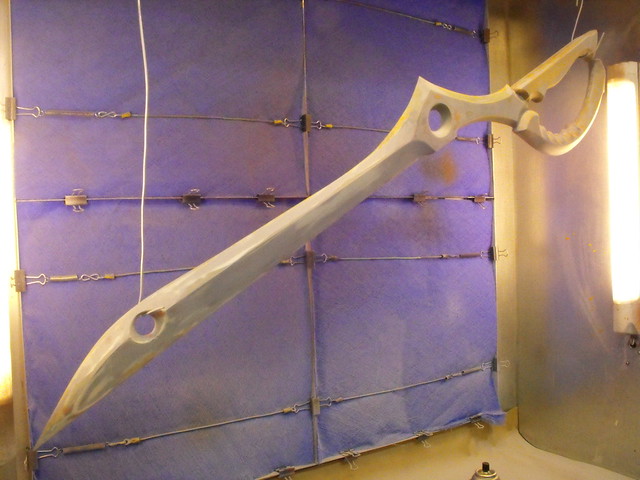
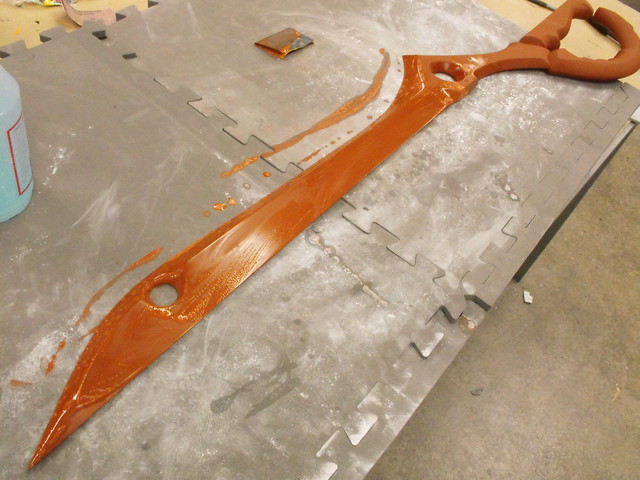
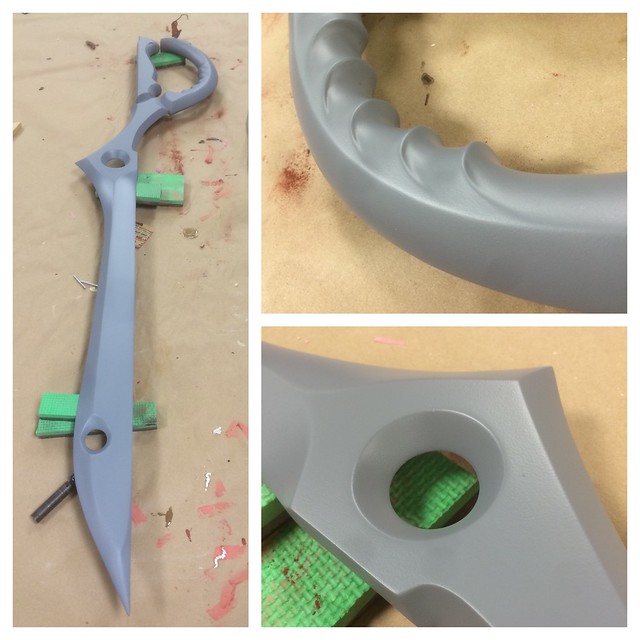
The blade was primed with 2K urethane primer, then wetsanded in prep for paint.
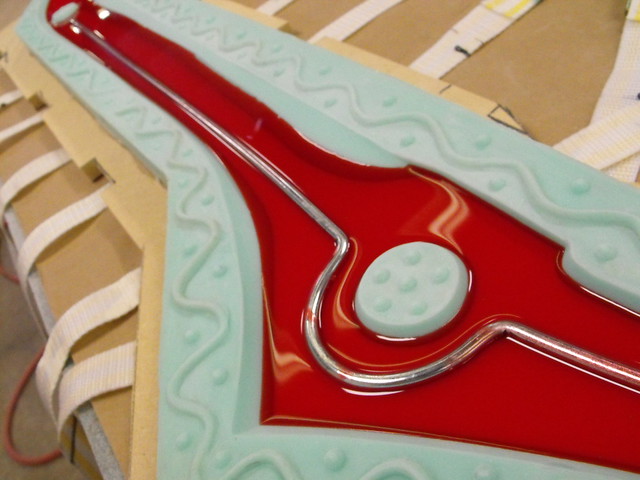
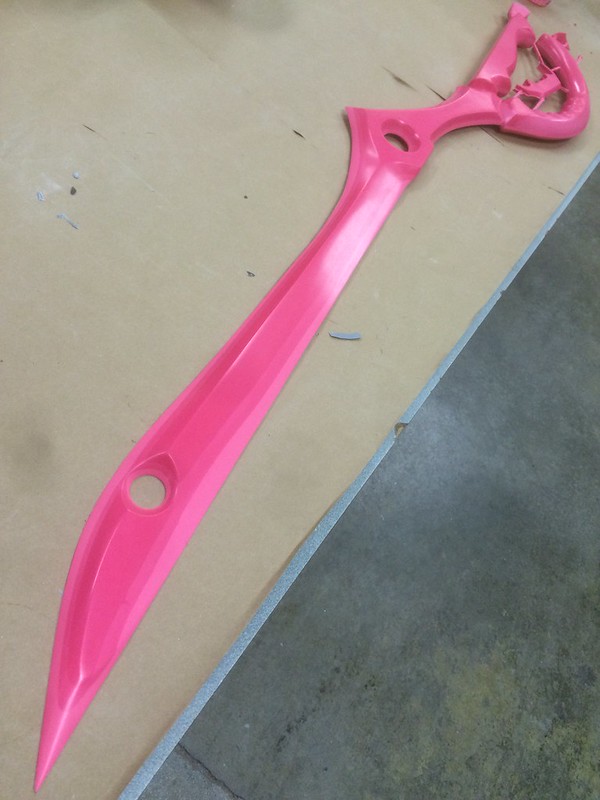
Basecoat for the blades went wonderfully. During this project I was trying out a bunch of new HVLP materials. The bright red blade was painted with Createx Wicked Colors, while the darker one was coated with House of Kolor Shimrin paint.

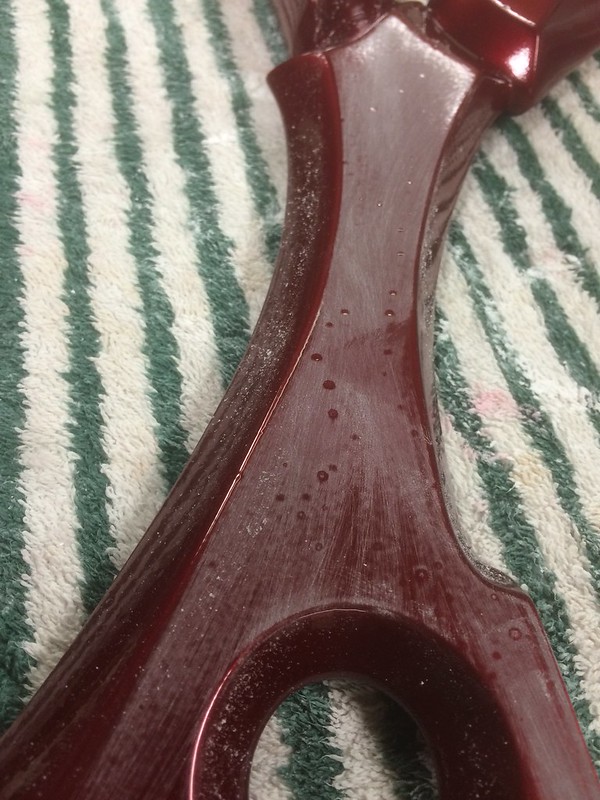
The clearcoat was a nightmare. Urethane clear gives a very high gloss shine and is extremely durable, but every time I applied it I would get terrible fisheyes in the paint. A fisheye is a ring of paint or clear that seems to pucker and make a crater in the finish. It is usually caused by grease or oil contamination, moisture, or excessive dust.
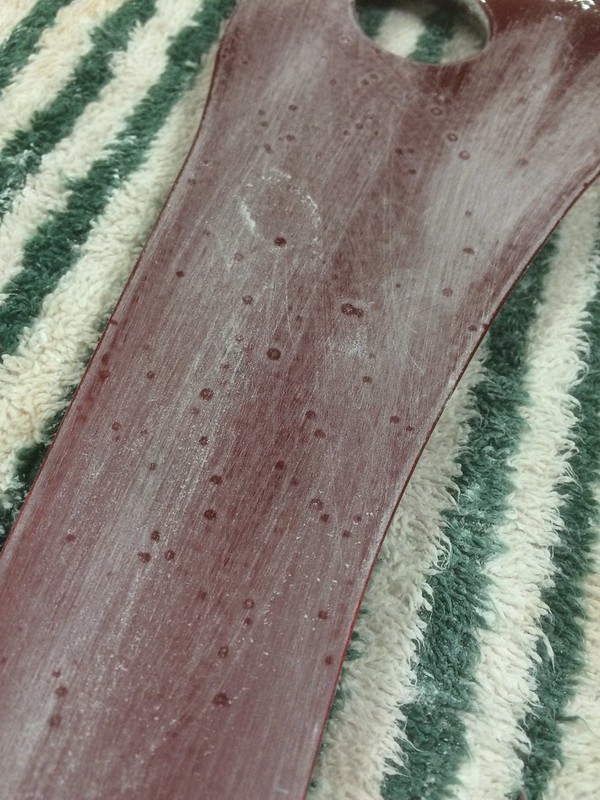
I tried the following to rid myself of the issues:
- Desiccant filter in line with my air supply hose to my spray gun
- Moisture trap on air line (two different brands)
- New silicone-free air line
- Grease and wax remover wipe-down before painting
- Full dis-assembly of spray gun with lacquer thinner cleaner on all parts
- New HVLP gun
- Tack cloth wipe down of all parts
- Fisheye reducer additive to clearcoat
- Two different brands of urethane 2K clear
In the end, the solution came to me at 4am. I had sprayed a very small batch of clearcoat as a test piece onto a scrap piece of plastic, but I applied it with my airbrush instead of my HVLP gun. My airbrush compressor doesn’t have the fancy filter or new air line, but the paint turned out great with no cratering. The only difference was that I mixed the paint in a small medicine cap type cup instead of my larger pint buckets.
After this, I wiped the mixing cup interior down with wax and grease remover. It turns out that the cups still had trace amounts of mold release on their interior surface as a manufacturing byproduct. Wiping down the cup interior did the trick, and clearcoat has sprayed perfectly ever since. An essentially free solution to a problem I spent nearly $1000 to diagnose. Go figure.
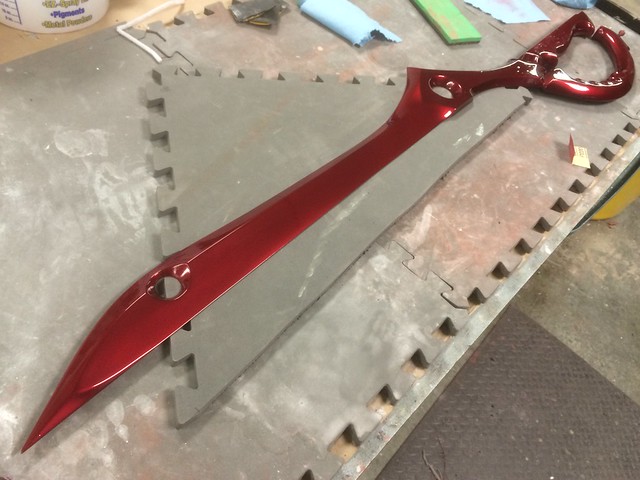
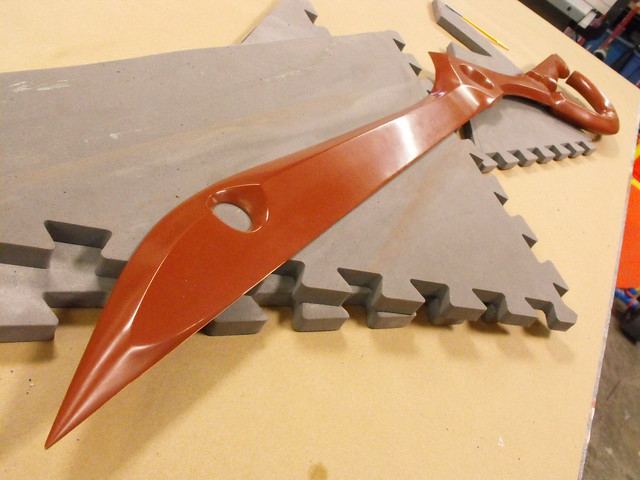
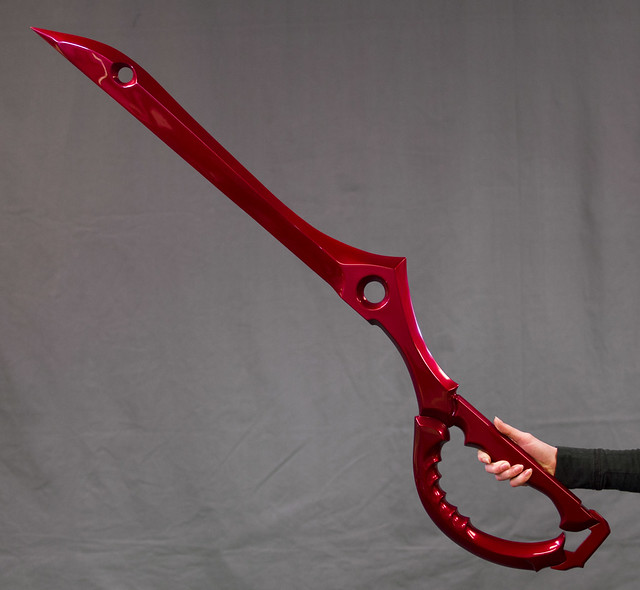
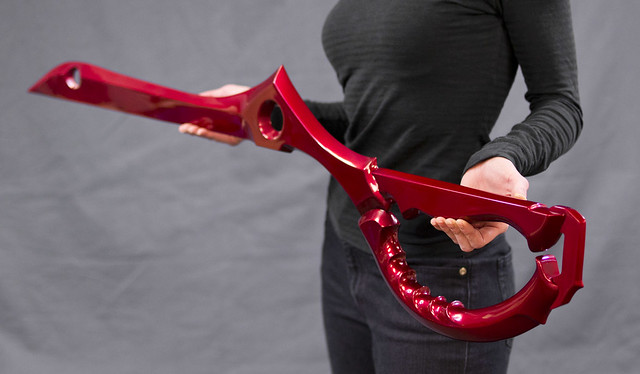
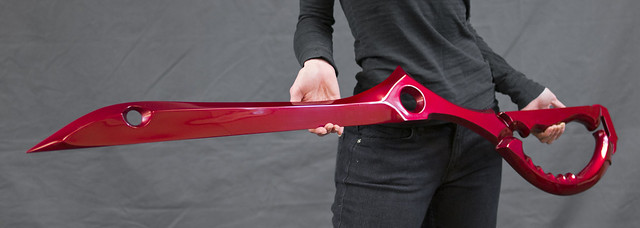
Back to the swords! I spent a lot of time wet sanding out fisheyes before finally getting an acceptable coat of clear. After a pass of wax then gluing the hinge part in place, they were finished!
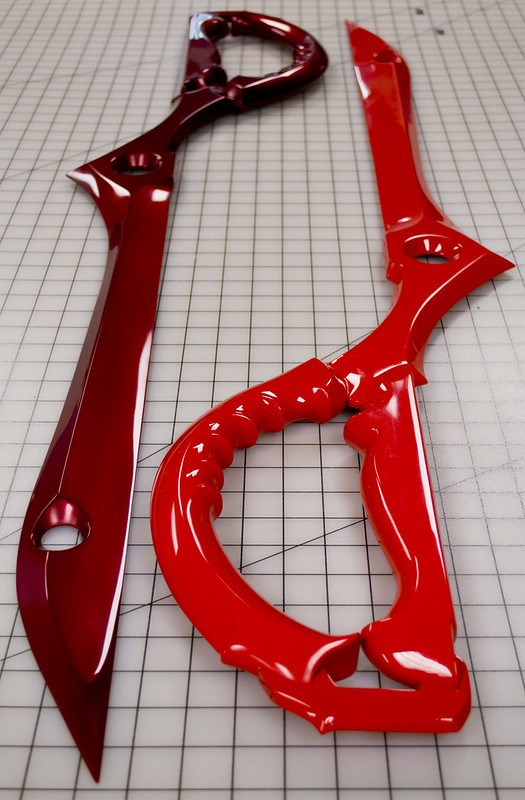
The bright red blade went to my client, and the darker red one was auctioned off at Desert Bus for Hope 8. It raised $8000 for the Child’s Play Charity!
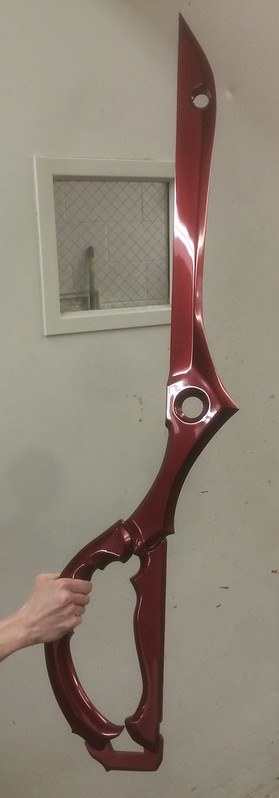
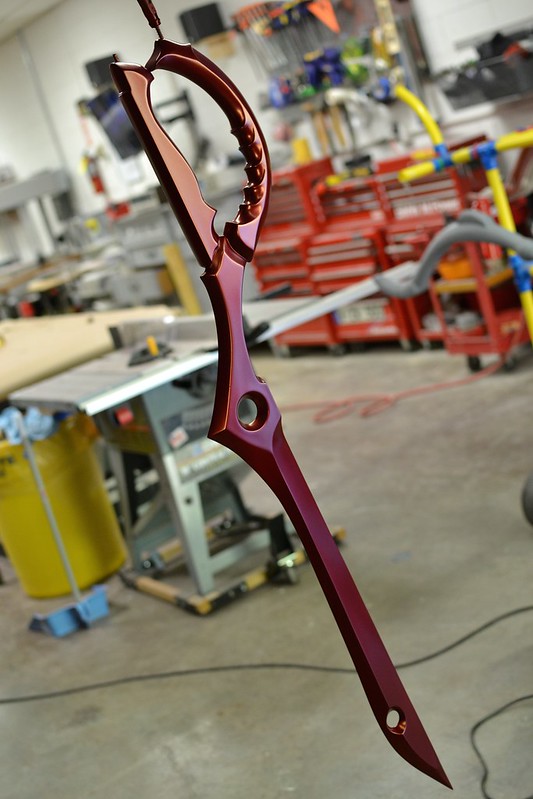
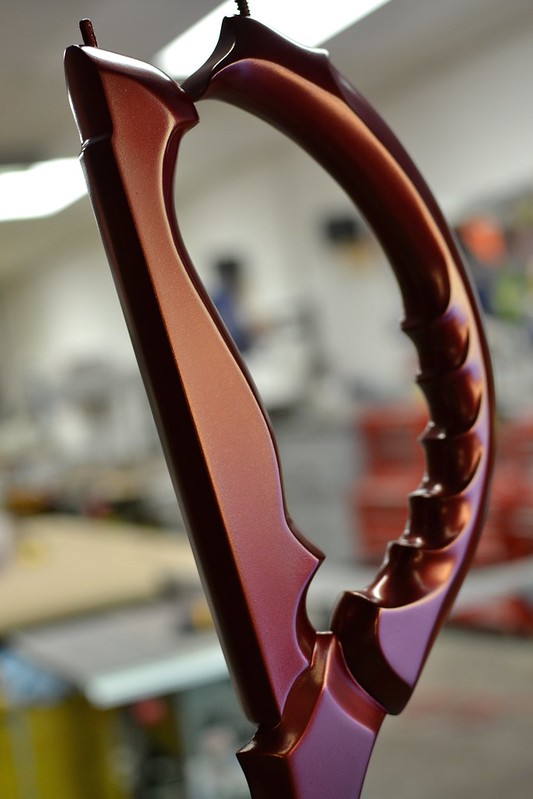
Here’s some finished shots. That shine was a headache, but so worth it.
You can check out some higher resolution photos in my portfolio, and check out more build images on my Flickr.
Thanks for reading!