
Daft Punk Handplates
It just makes sense, really. If you have the helmet then you’re going to need the gloves to go with it.

You might recall my vacuumformer build from a few months back. My reason for creating that tool was to eventually create a set of Daft Punk glove pieces. This all stemmed from a very helpful post over on the Replica Props Forum where a member had noted he had worked on a set of handplates for Daft Punk themselves while they were on tour! The originals, as it turns out, were vacuumformed. This information was perfect, and I set about creating a set of vac-forming masters.
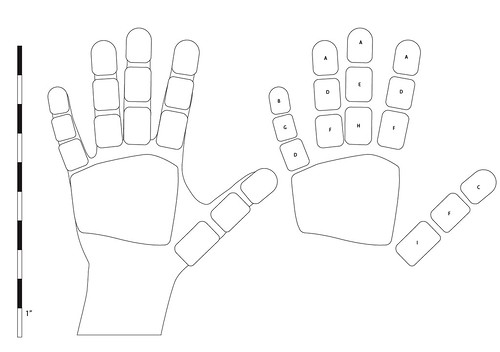
After a lot of research, I made up these blueprints to nail down the scale and shape of the plates.
First off, I got some alginate and cast a couple of copies of my hands. Alginate is great for single-use lifecasting and I had 2 exact copies of my paws in a couple hours. The finals were made with Smooth Cast 300 resin.
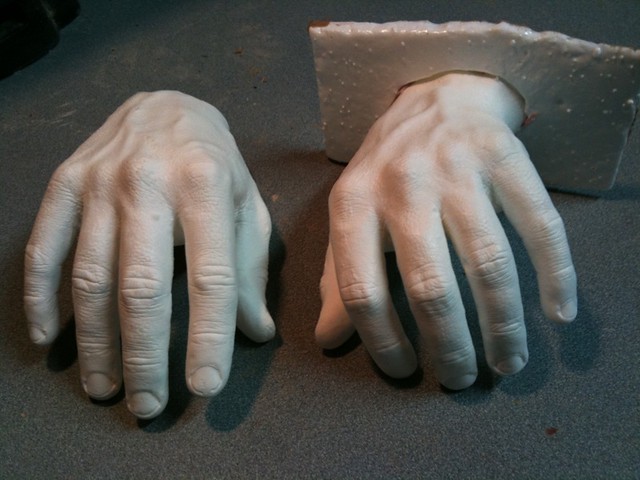
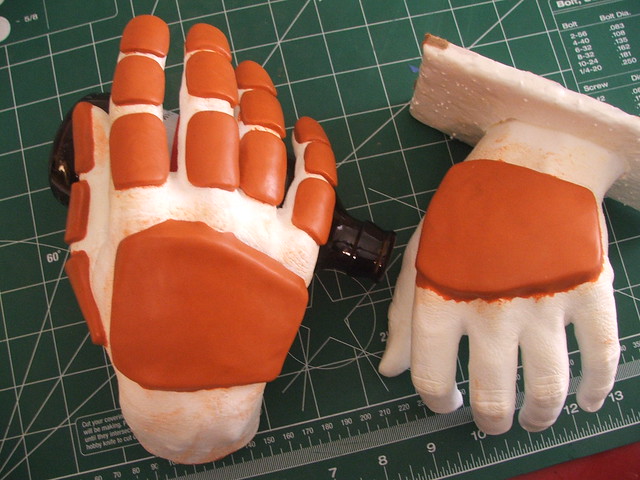
Once these were fully cured, I sculpted the hand plates over the finger sections with Apoxie Sculpt.
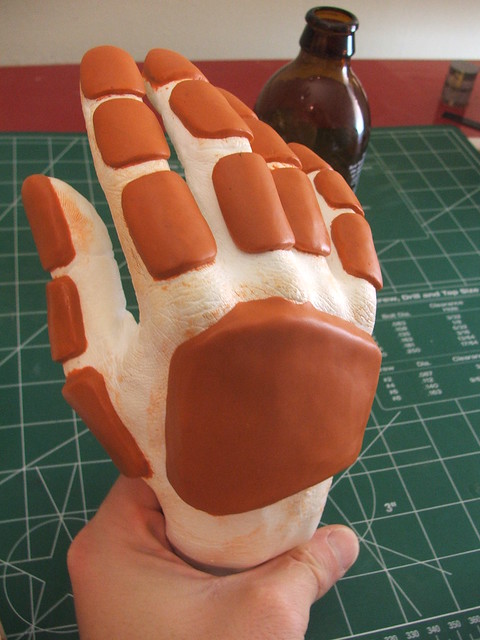
I only sculpted the finger plates on one hand, as they would be used for both fingers on both hands. The only parts that needed to be sculpted separately were the large back plates.
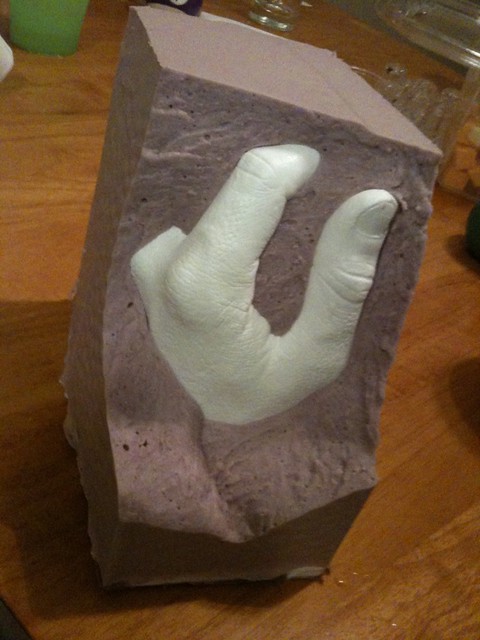
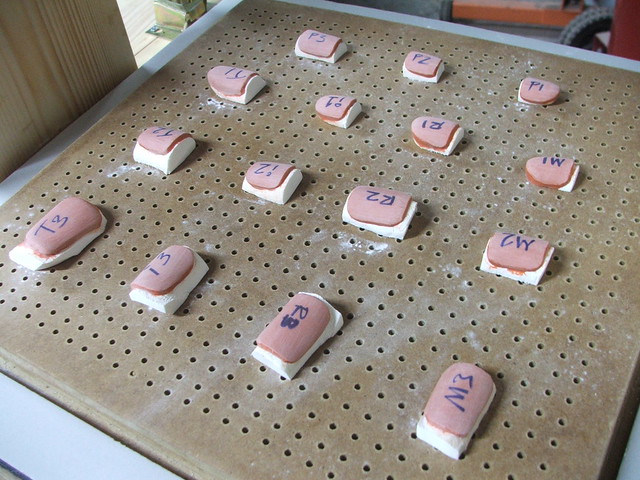
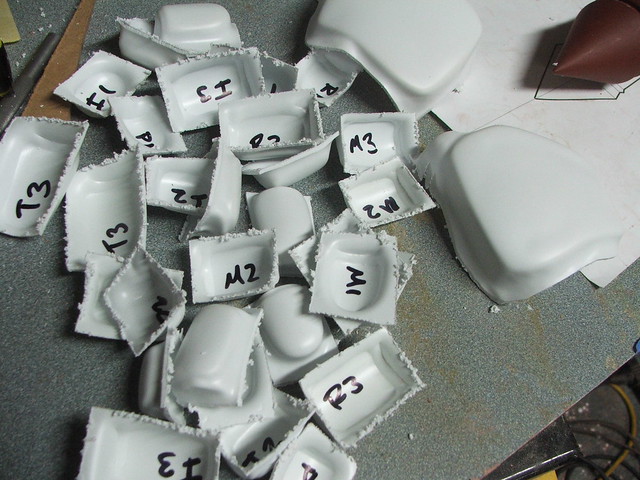
The next step was a bit unnerving. In order to use these pieces as vacuumform masters, they needed to be separated and the bottoms sanded flat. In order to do this, I cut each of the fingers off the palm on my bandsaw, then cut the fingers into individual sections.

These little hotdog slices all ended up looking very similar, so they were labeled to keep everything straight. The handplates, noticably different, were labeled as well. I get confused easily.

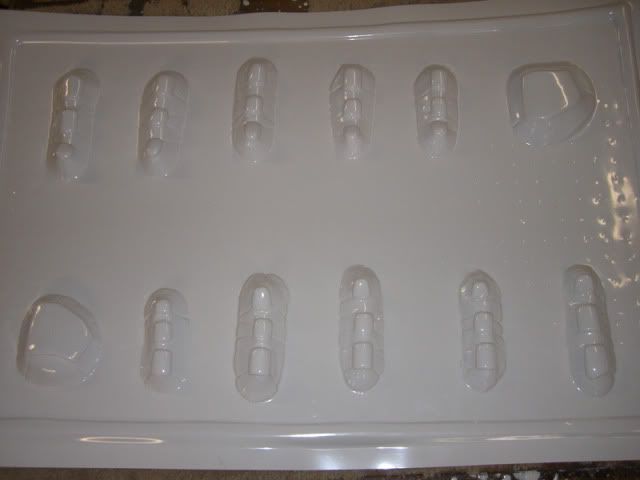
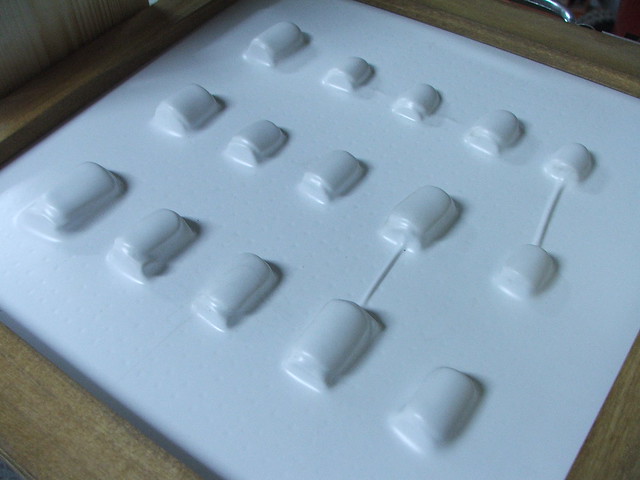
The first set of pulls went near flawlessly. These were done in .060″ styrene plastic.

After removing the masters from the pull, I labeled the inside of the plates and cut them out roughly on my bandsaw.
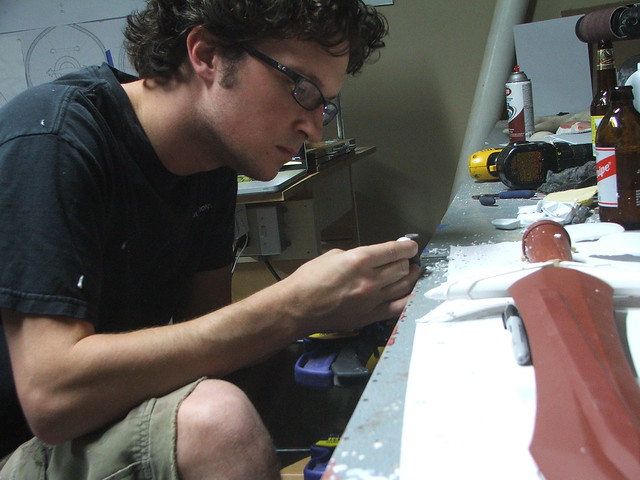
My preferred, or at least “settled-upon” method of trimming the edges to shape was to clamp my dremel tool to my workbench and shape each piece individually with a sanding drum. It took a while (4 hours!) but the results were worth it.
The result – all pieces trimmed, the edges smoothed with 1000 grit paper, and ready for chrome!
In order to set these up for spray chrome, I made a few parts trees (similar to model car kits) out of my scrap styrene. The plates were glued to the trees with a small dab of superglue, which would make them easy to snap off later after paint.

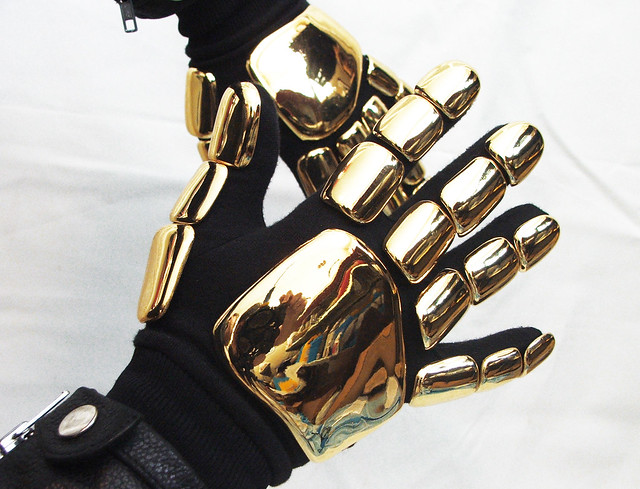
First photos from my friends over at Creations n’ Chrome. Beautiful!


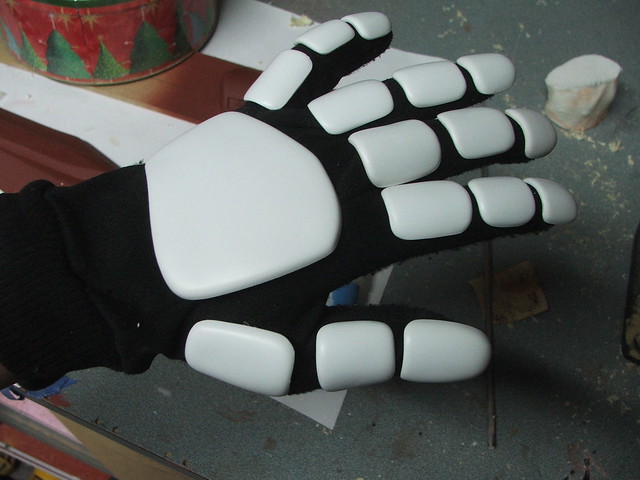
Unfortunately, I don’t have a photo available for the “mounting” part. I ended up cutting small pieces of craft foam to fit into the recessed cavities of the concave glove plates. These were superglued to the styrene side. To affix them to the gloves, I used 3M black weatherstrip adhesive. Highly toxic and difficult to work with, but once it sets, the pieces are on there for life!
Note: I glued these in place using a friend of mine (Thanks, Dr. Roundtree!) as a stand-in hand mannequin. If you decide to do the same, have your hand model wear a set of latex gloves underneath the cloth ones. You do NOT want to glue this stuff to your skin.
For gloves, I went to a camping store and bought some thin black glove liners. These have no markings and are lightweight as well, so nothing would get in the way of the design.

Some final shots of the pieces, all shiny and ready for Halloween!


Thanks for reading!
