
Garuda’s Spine, Final Fantasy 14 (part 2)
In part 1, each of the components had been constructed and were awaiting moldmaking. There are several very large pieces to this bow, and each had to be molded and cast in a specific way, so I’ll outline them from largest to least-largest.
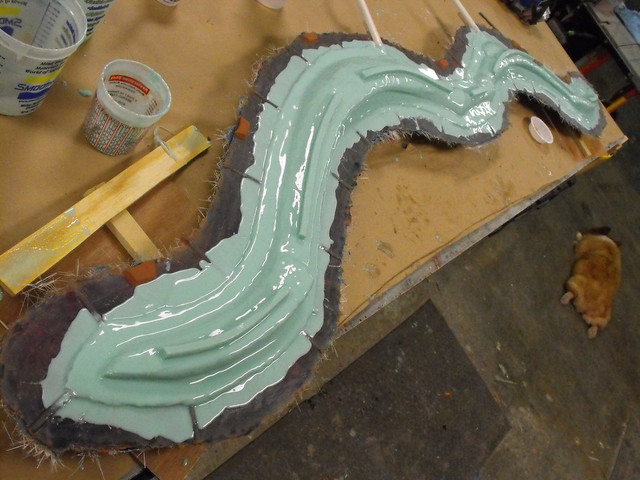
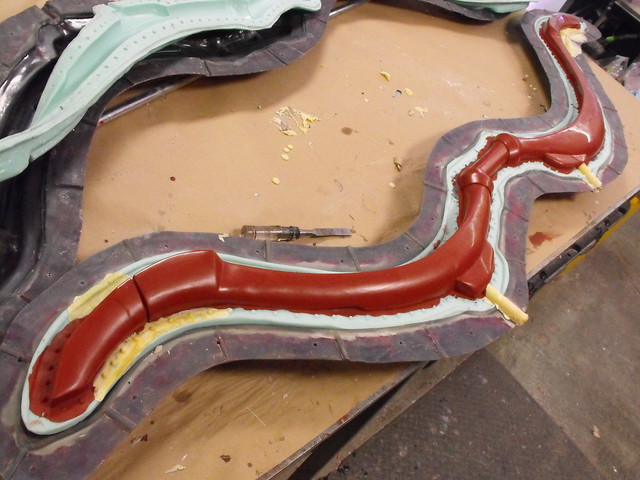
After wax and polish, the massive bow limbs were set into a sheet of insulation foam to act as a dividing seam. This helped keep the amount of clay needed to make the mold to a minimum, as building up a wall of that size and thickness would take way more clay than I had on hand.
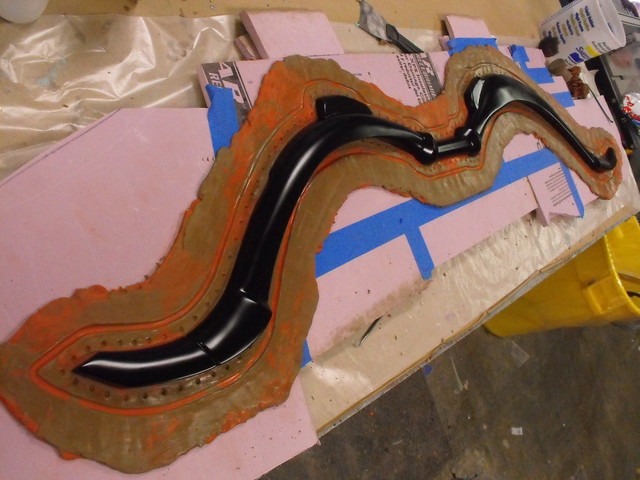
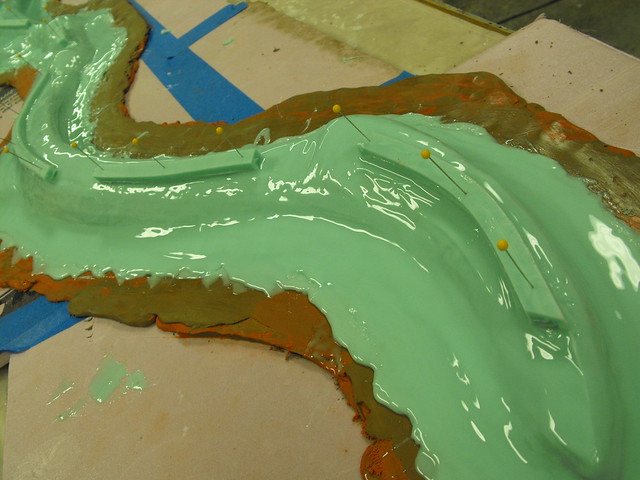
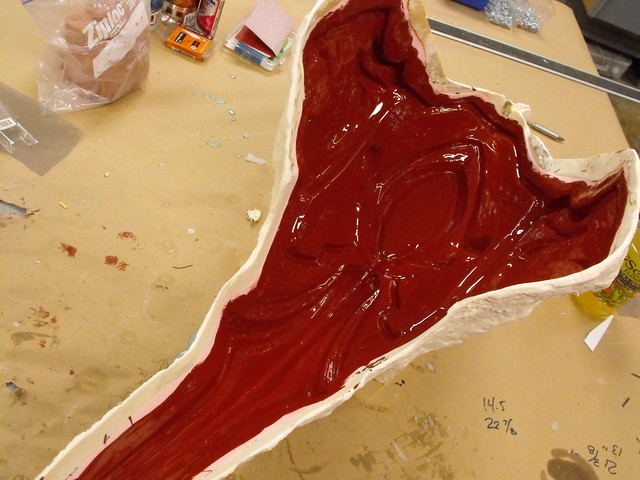
The limbs themselves would be molded and cast as one piece to help with rigidity. I decided to go with a brush-on mold, using Smooth-On’s Rebound 40. This is the thinned print coat, followed by a thickened coat to build up mold material. Don’t forget a pour spout! I almost missed those in the print coat, but I added some sections of PVC pipe (top of image #2) before proceeding after noticing my mistake.

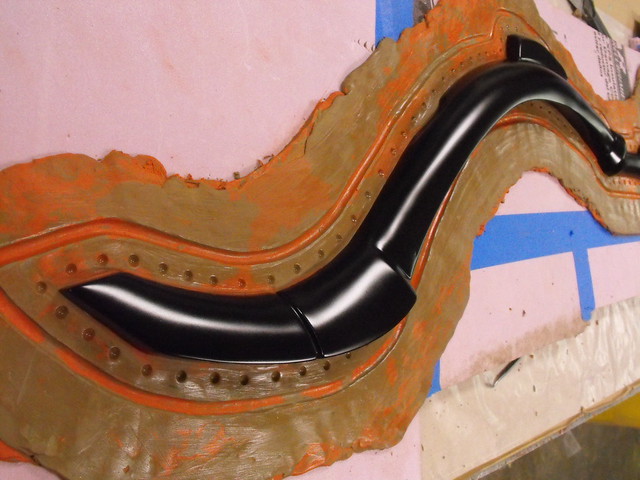
For registration keys, I vacuum formed a few long trays out of styrene over small strips of wood. By pouring silicone in at the same time as the print coat was applied, these are ready to be pulled out and affixed to the mold surface in about 4-5 hours. These are “glued” onto the mold using more thickened Rebound 40, held in place with a few sewing pins while the silicone cures.
After the silicone is cured, the perimeter edge is cleaned up with an exacto before adding the mold jacket.
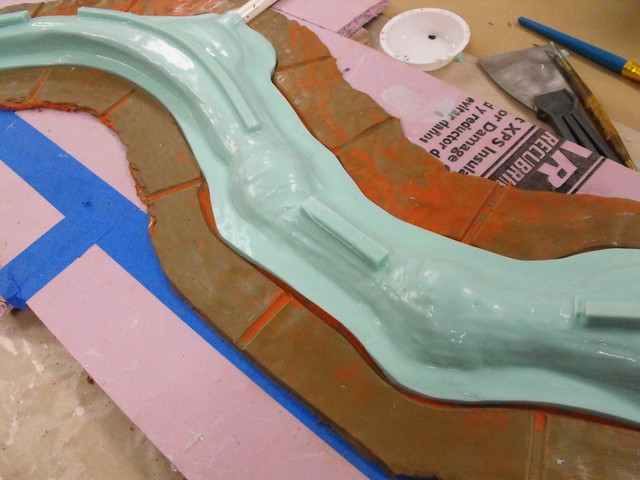
For a mold this large, rigidity is going to be an issue. I used Smooth-On EpoxAmite 102 to make the jacket, laminating over glass fiber for strength. There’s also a length of 1″ steel conduit added in to keep things from flexing.
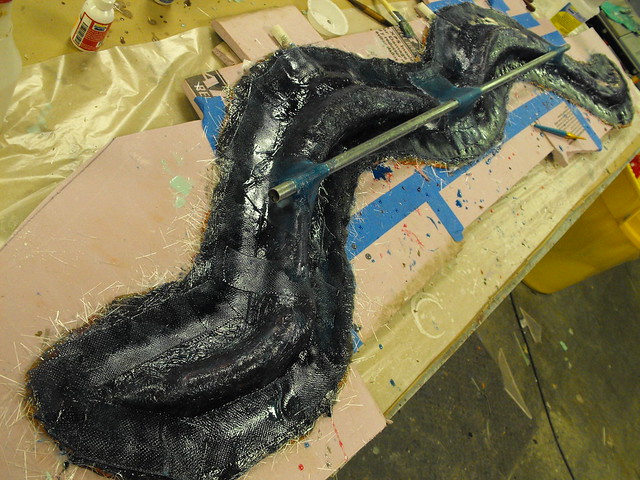
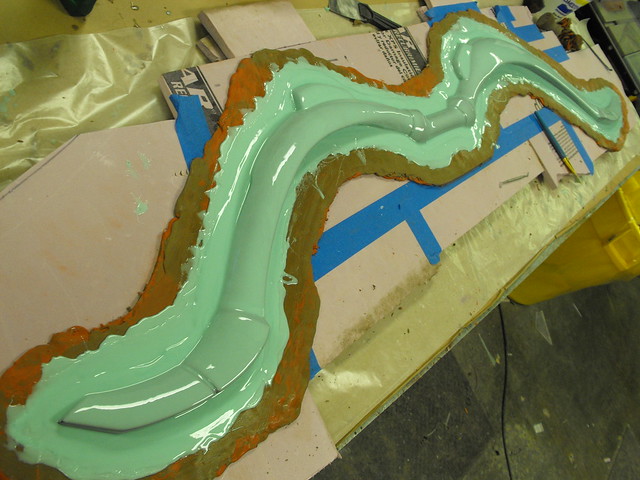
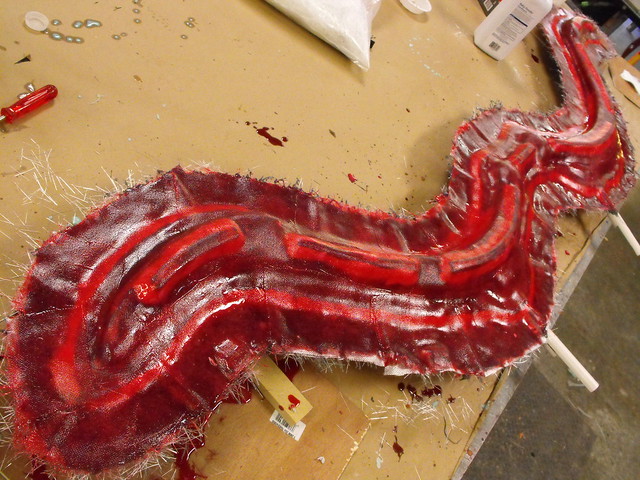
Once cured, the mold was flipped over and the clay removed, then the second half was completed in the same manner. I went with red dye in my epoxy this time for a festive look.
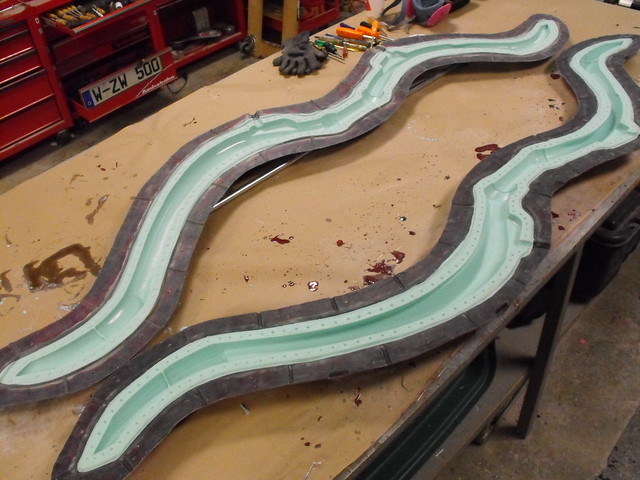
Here’s the finished monster (over 7 feet tall!) cracked open.
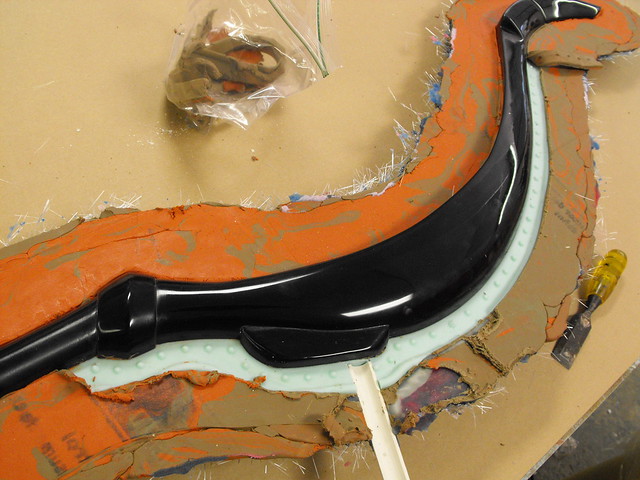
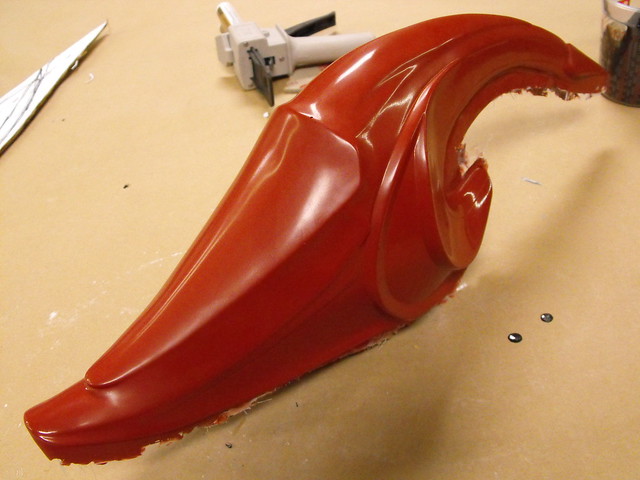
My first casting was done by brushing Shell Shock into the mold to make a hollow shell, then filling the interior cavity with foam. This worked well, but the resulting casting weighed nearly 7lbs, making it heavier than the wooden master sculpt it was meant to replace.
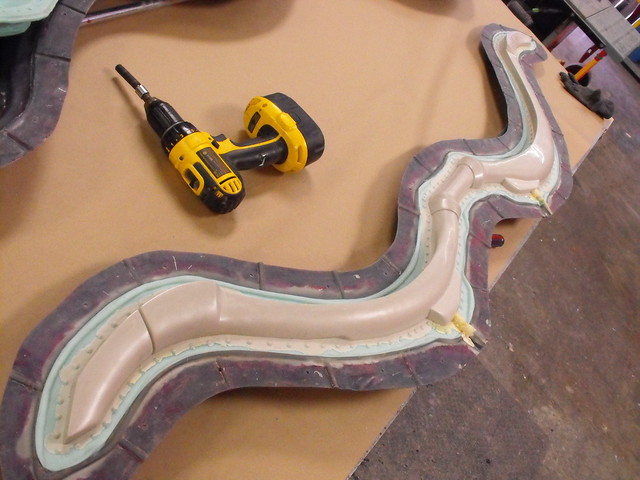
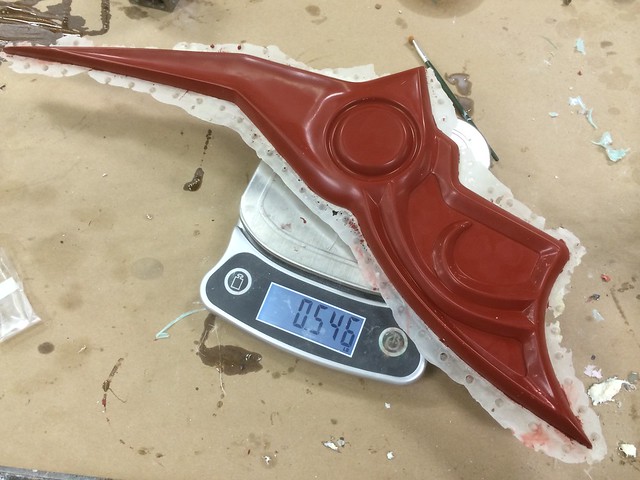
The second test followed a similar process, but I used EpoxaCoat Red for a thinner shell. The two halves were joined while the epoxy was still curing, so they formed a thin hollow cavity. This was filled with Foam-It 10 to make a solid, lightweight casting. The finished piece only weighs 3lbs!
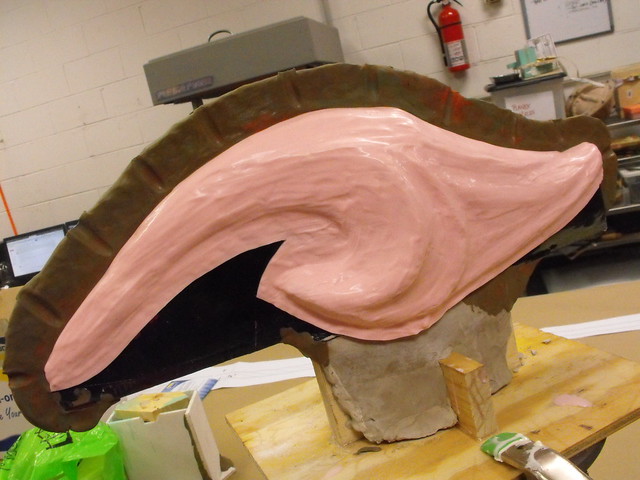
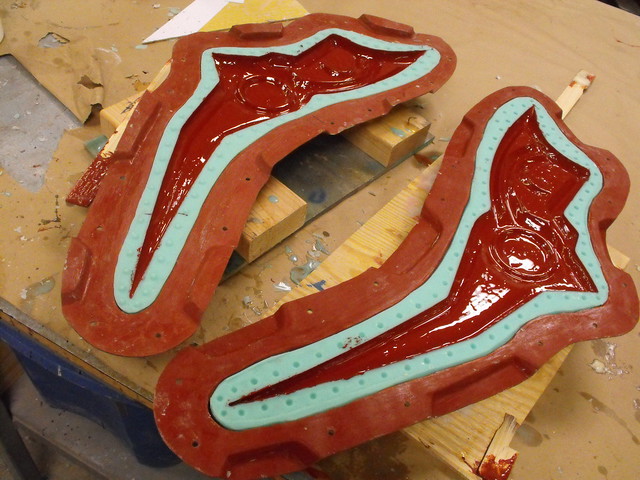
For the next largest piece, I went with another brush on mold. The upper crest is a very easy shape to mold; since there’s very few undercuts and a large open back I can make it a single silicone part with no seam lines. I used Mold Max 30 – not technically a brush-on rubber, but it worked for my purposes.

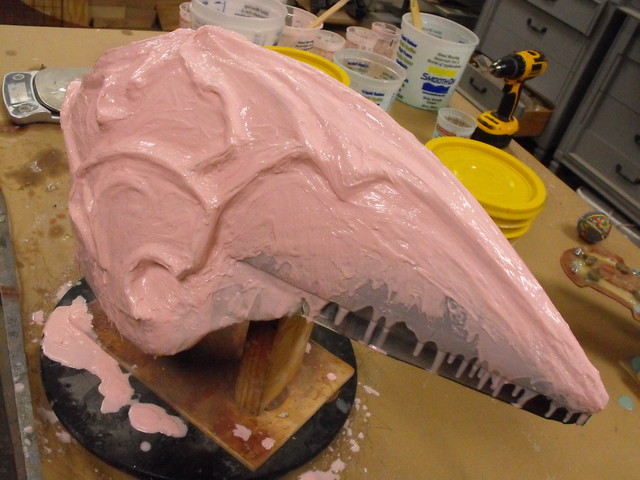
After a few coats of rubber, the mold jacket was added. Since weight wasn’t an issue I used Plasti-Paste for its quick set time and lack of fumes.
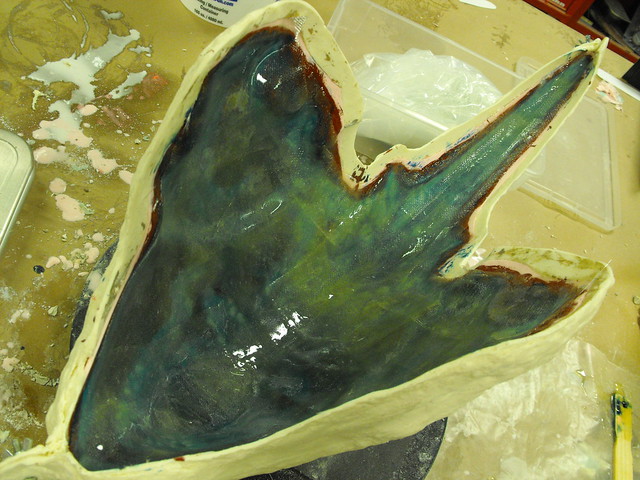
Here’s the finished… uh, manta ray.
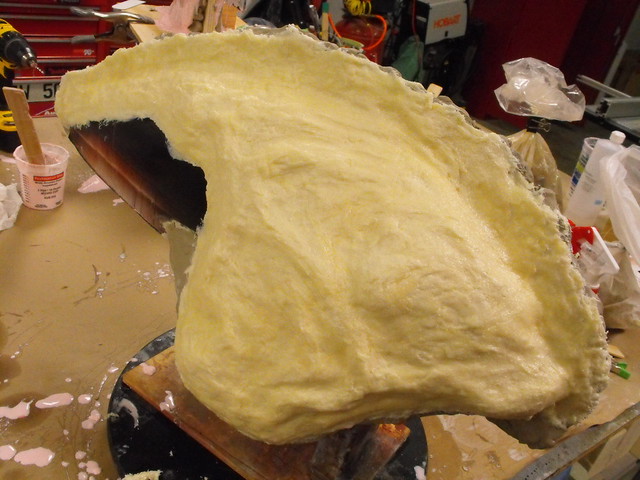
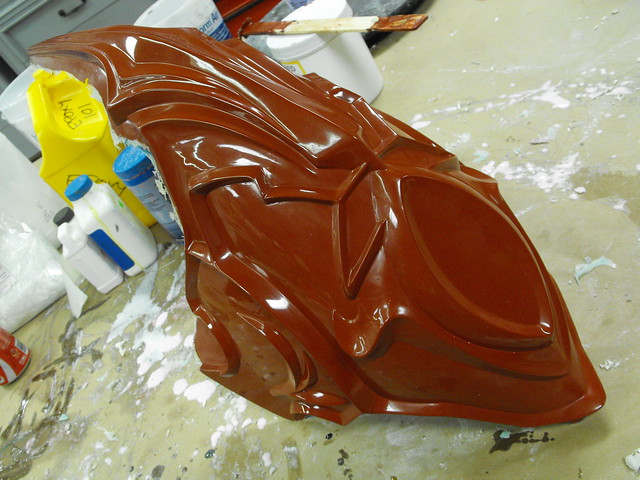
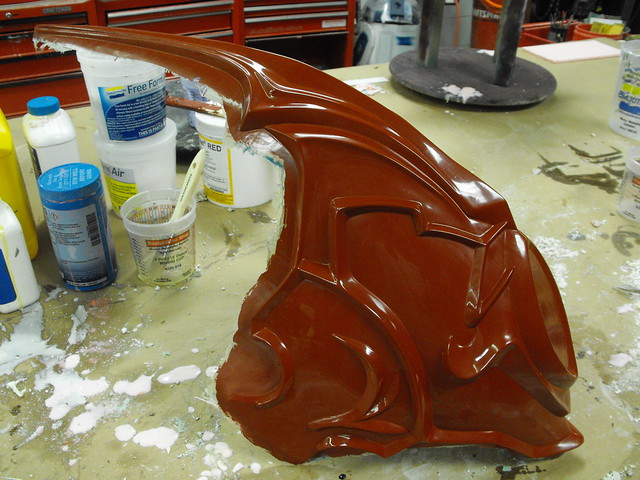
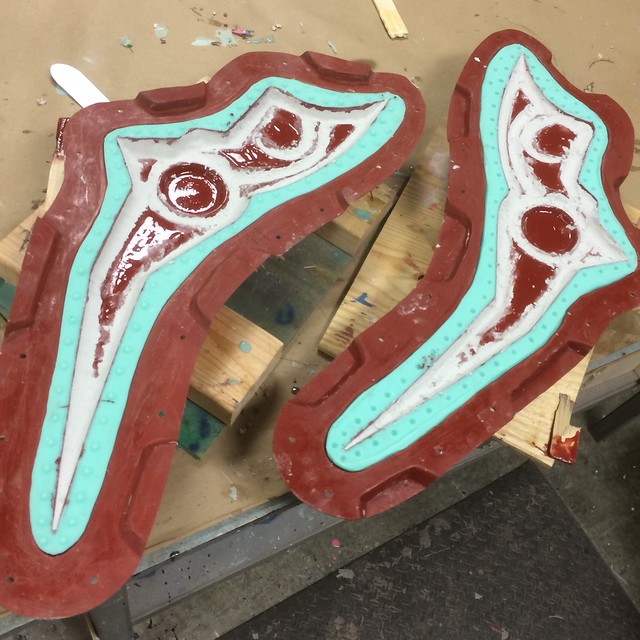
For casting the crest I went with brush-on epoxy, which yields very lightweight and strong castings. A gel coat is applied first – the resin used here (EpoxAcoat Red) is thickened and designed to cling to the mold walls and capture detail without pooling. This epoxy is applied until the surface is roughly 2mm thick in all areas.
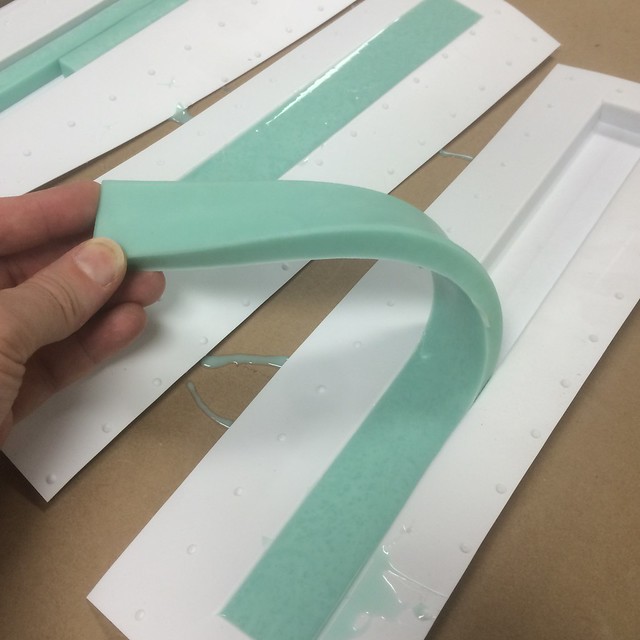
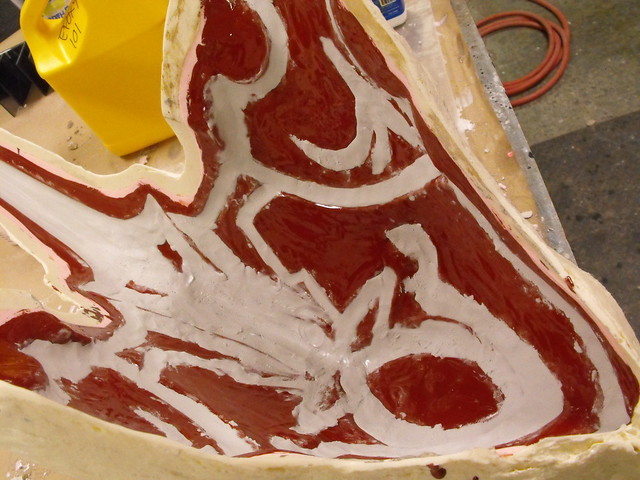
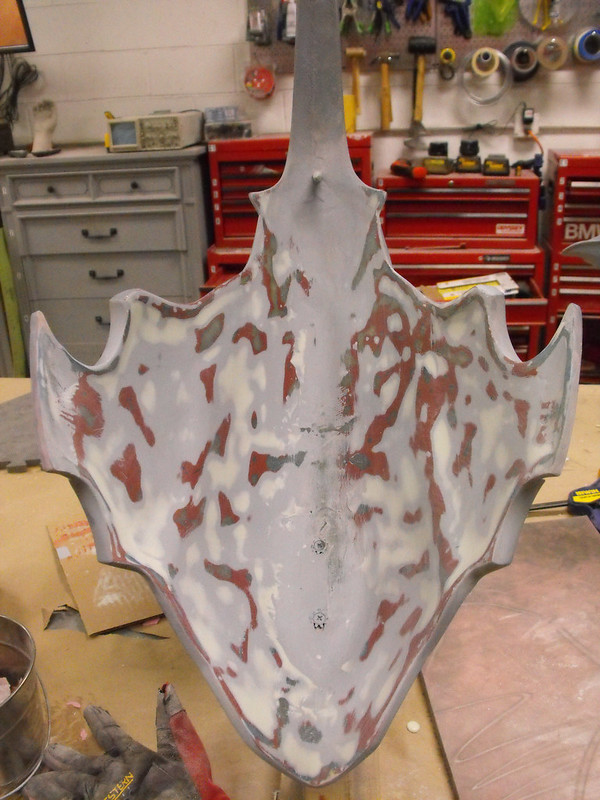
A trick I learned from my friend Frank Ippolito when doing epoxy castings: glass fiber cloth doesn’t like to lay flat across sharp angles. By adding Free Form Air (a lightweight epoxy clay) into cavities and voids in your mold, the remaining layers of epoxy and glass fiber cloth will be much easier to apply. You can see what I mean in this photo where Free Form has been pressed into all the raised parts of the casting:
Laminating epoxy and glass fiber need to be added while before the gel coat and Free Form cure fully. To test this, touch the resin with your finger – if any material sticks to your finger, allow more cure time so you don’t disturb the surface of your casting. If you only leave a sticky fingerprint in the surface, it’s ready for the next coat of material.
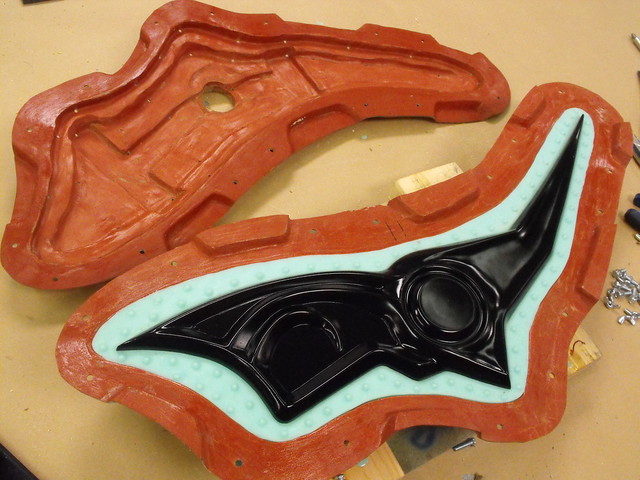
I’ve tinted the epoxy blue in this photo so I can more easily see which areas have been treated.
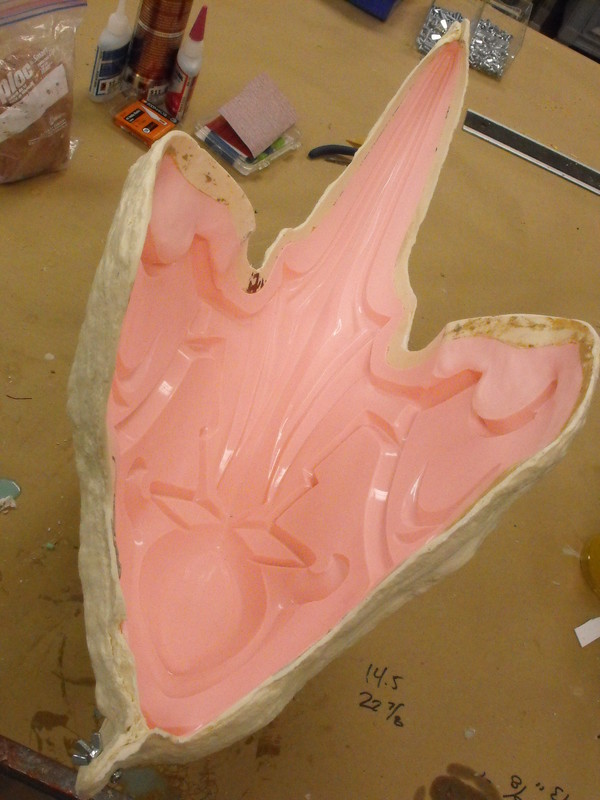
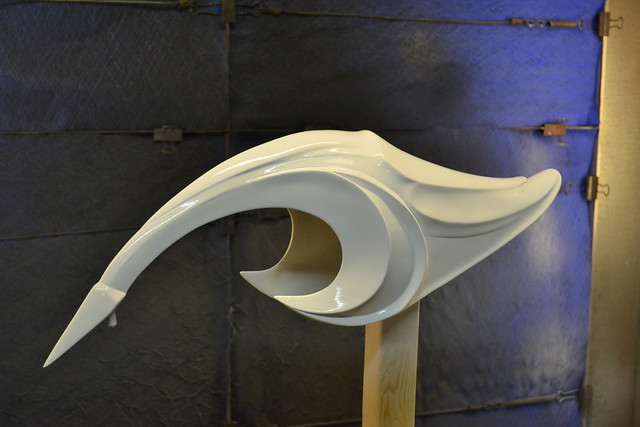
Here’s the finished piece pulled from the mold – this massive part only weighs 1/2lb!
In an effort to keep this post from getting (even more) unbearably long, I’ll go ahead and say the lower crest was molded and cast in a nearly identical fashion. Here’s the cliff notes:

The wing holders were molded in a slightly more complex manner: matrix molds. These needed to withstand pressure from expanding foam used during the casting process, and only a matrix mold would be able to accomplish this. I’ve written about this extensively on my write up for the Curse Dragon Trophies, so check that out if you want the how and what of matrix molds.
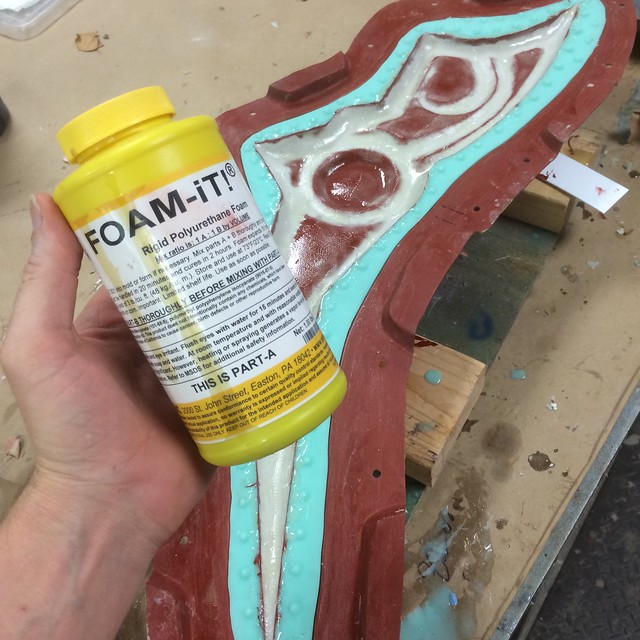
Casting these went very similarly to the large upper crest – a gel coat of EpoxAcoat Red followed by Free Form Air and EpoxAmite 102 with glass fiber cloth was added to each side individually.
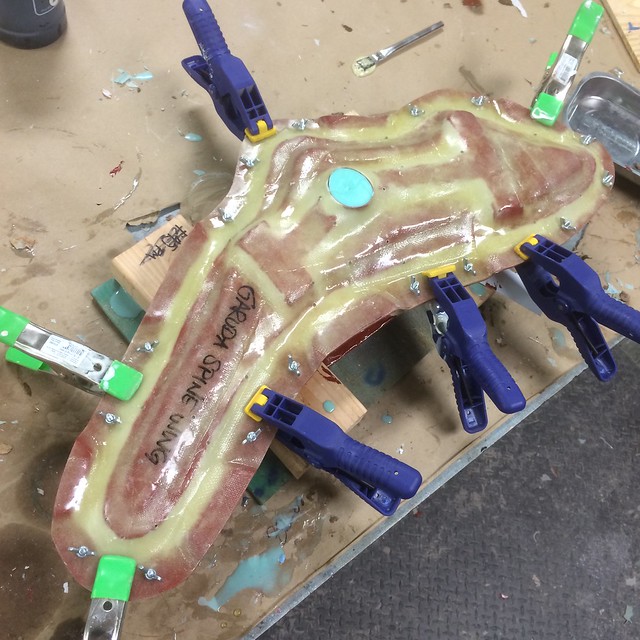
There’s no pour spout on this mold, so the next step had to happen very quickly: Foam-It 10 was added to one half of the mold, then the second half was clamped over and screwed shut. The foam filled the cavity between the two parts, making one complete lightweight casting!
The smallest piece of the bow is the center gem – nothing fancy here, just a bit of hand shaped tooling foam and a simple one part block mold.
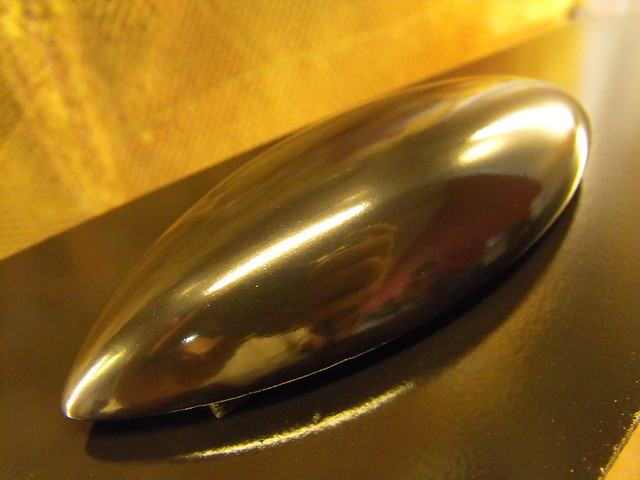
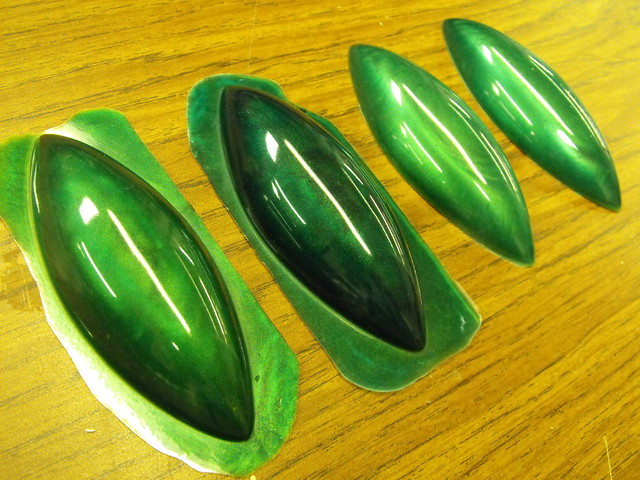
To give the part more depth, I cast the gem in SmoothCast 326 with green dye and pearlescent green casting powder. I cast several of these before settling on one with a striation pattern I really liked.
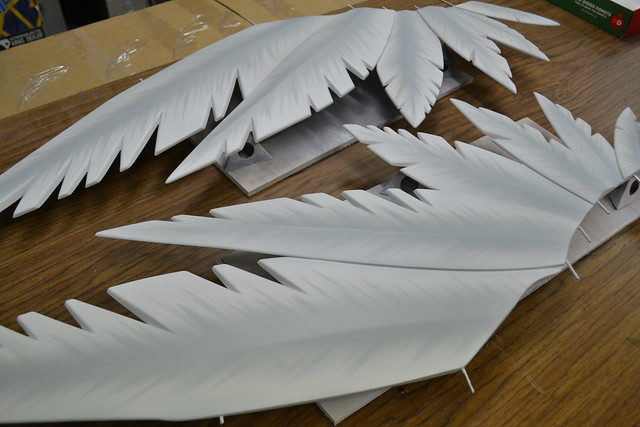
With all the parts cast, it was time for cleanup and paint. Cleanup was fairly minimal, each part only needed perimeter sanding and some filler along the seam lines. The most boring part was smoothing out the interior of the large upper crest.
Each feather was still an individual component, and gluing them together was a pretty massive headache. I used a methacrylate adhesive called MA300 to weld each set of feathers into one wing, but it would have made my life a lot easier if I’d vacuum formed them in 2 sections instead of six. Live and learn…
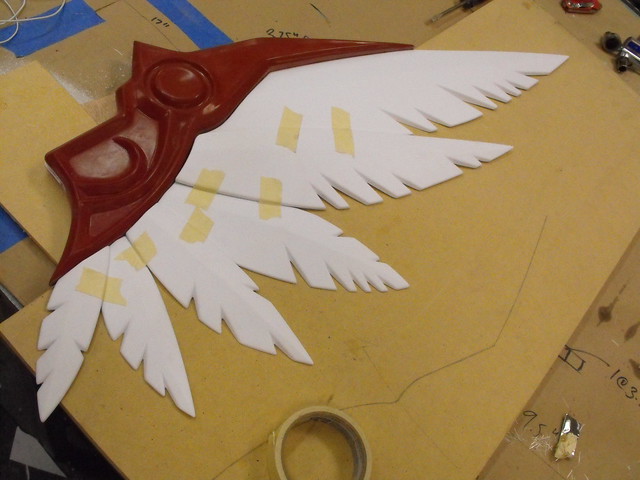
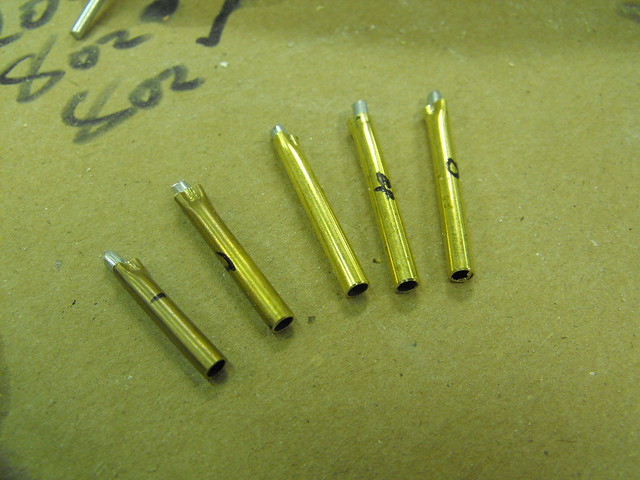
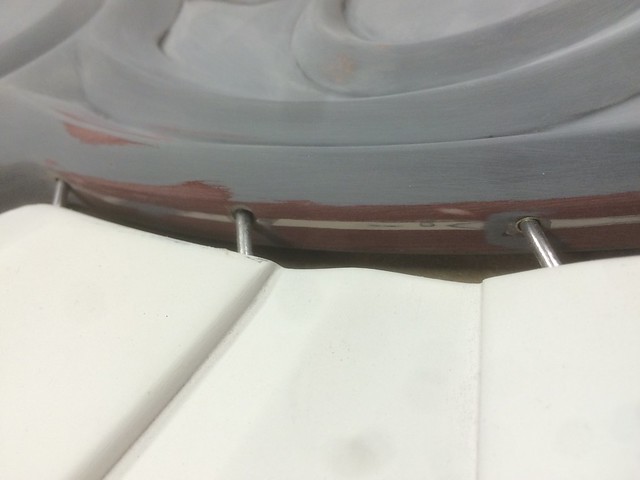
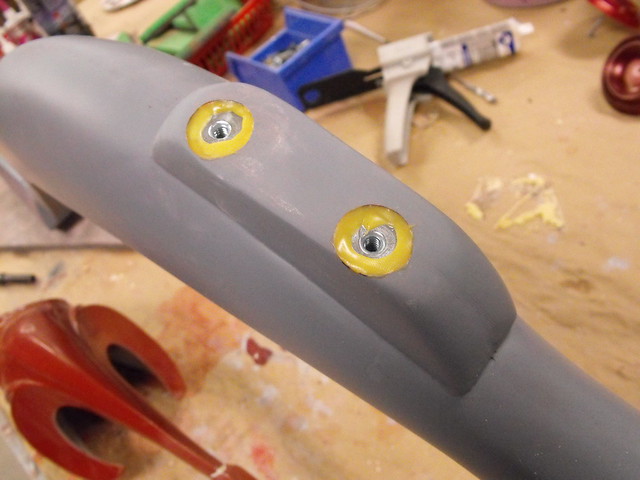
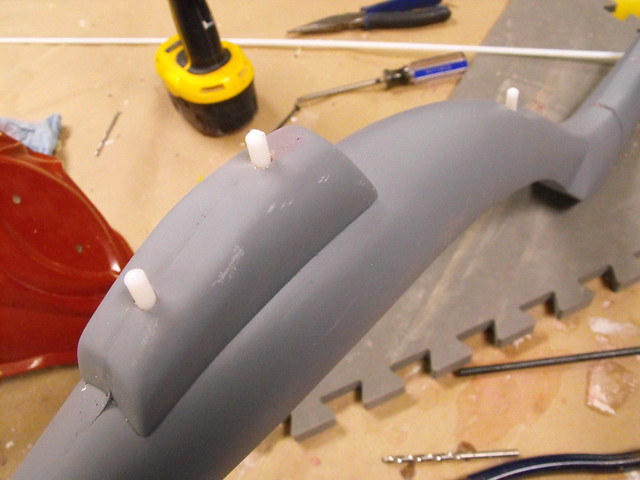
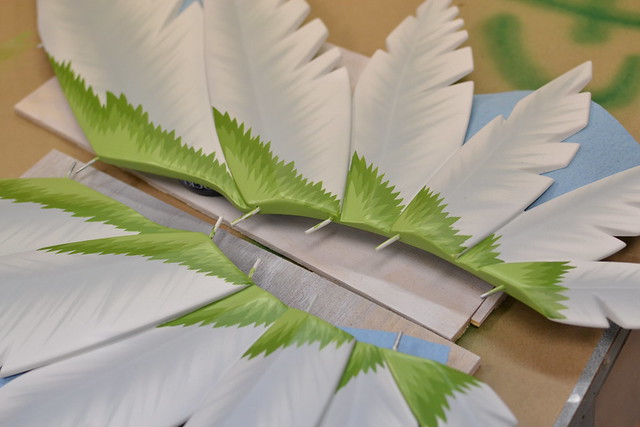
The wing holders and feathers needed to slot together after paint, so a series of brass tubes were embedded into the wing holders that mated to corresponding pins on the feathers.
Each crest was affixed to the bow limbs differently. The upper crest is held in place with two bolts hidden behind the large green gem, while the lower crest sits on a series of thick PVC dowels. Both were epoxied in place after final paint was finished.
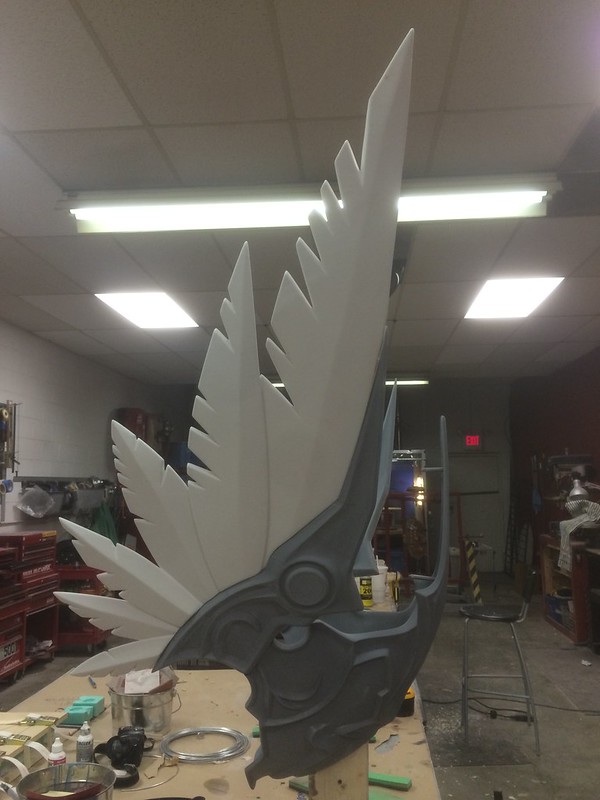
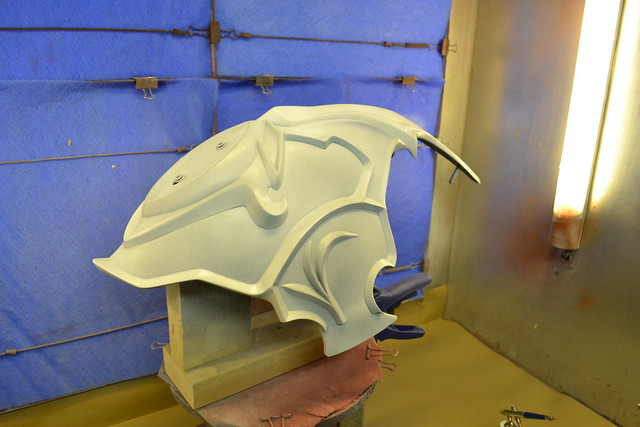
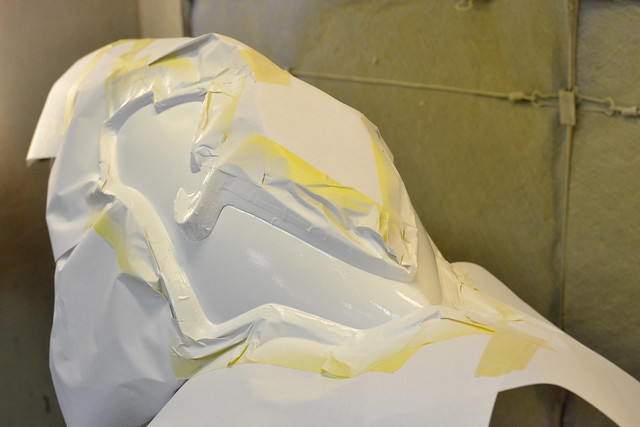
Final test mock up before paint. There’s no glue in this dry fit, only bolts and pins. The primer used is a 2-part acrylic called Mipa: it’s expensive and the instructions for use are provided in every language but English. It’s the best.
First, each part was basecoated white using Createx Wicked Colors. This gives the part a uniform color for the metallic top coat to lay over. Most urethane metallic paints aren’t very opaque and will need a solid base coat to look consistent.
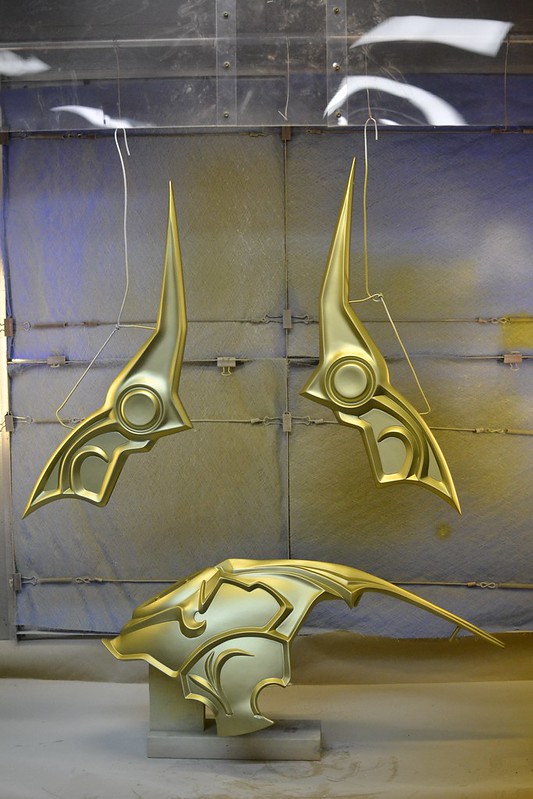
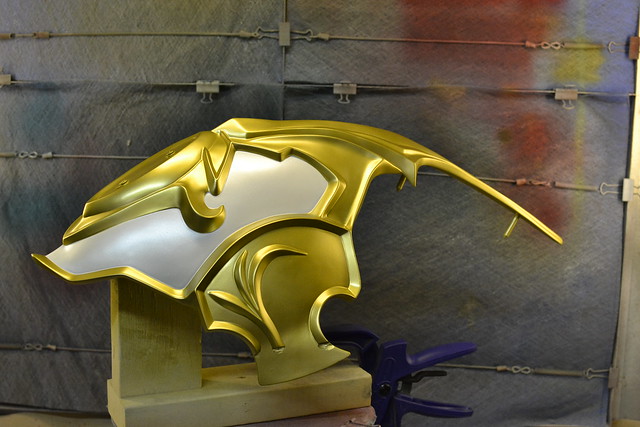
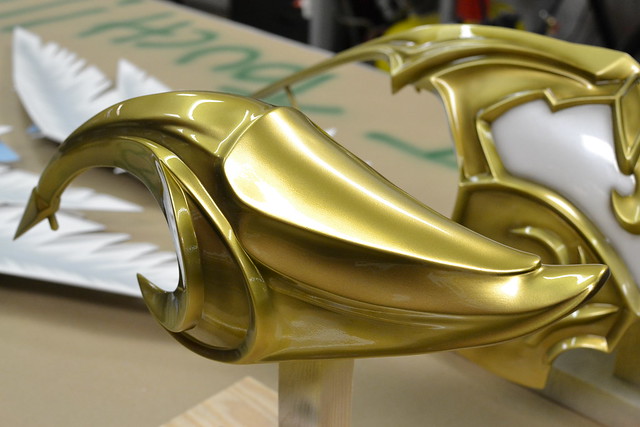
I used House of Kolor’s “Shimrin” line for the gold and white on the bow. It’s exceptionally smooth stuff, if a bit pricey. Base coating was done in light passes, making sure to coat undercut or interior edges first for a consistent layer of paint. Each wing holder and both crests got two coats of base gold and were allowed to cure for several hours.
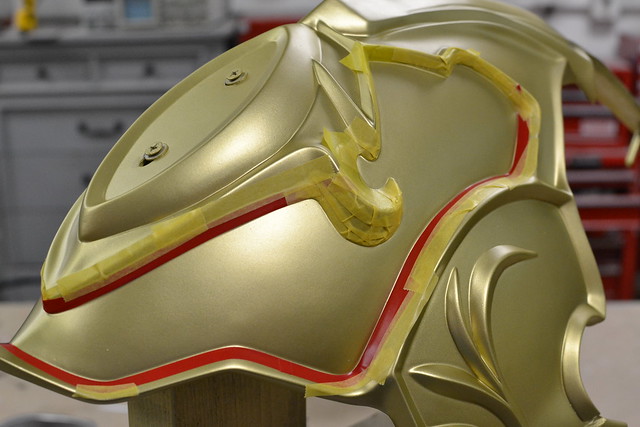
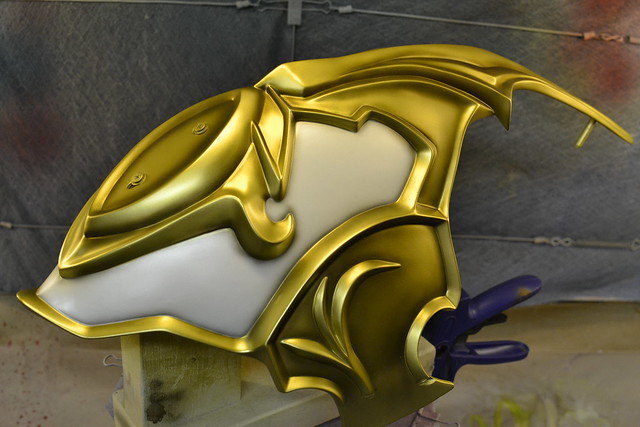
The upper crest has an inset white area, which had to be masked off before applying color. Again, the area was base coated white before applying the pearl top coat. If you’re doing this, spend the extra cash and get nice quality masking tape! Tamiya makes some great stuff.
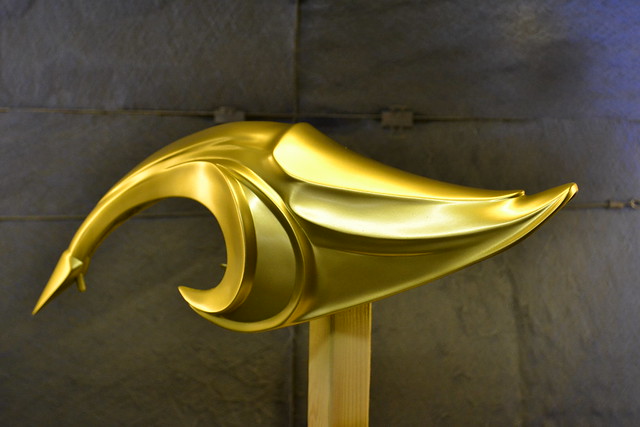
The finish was very pretty, but a little flat.
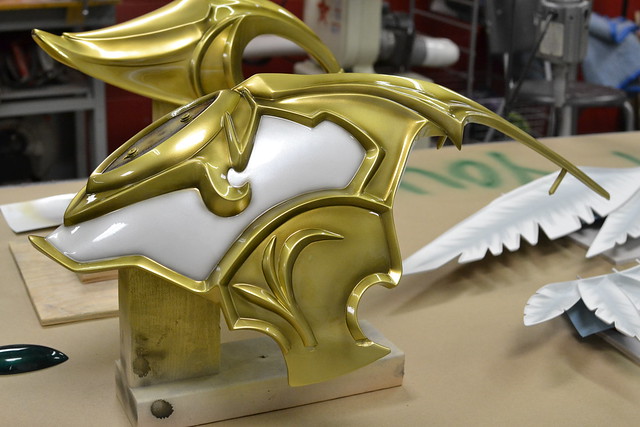
Shading was (nerve-wrackingly) added with an airbrush using Createx Wicked Colors. I mostly concentrated on recessed areas to accentuate shadows – instead of making the bow look dirty, the purpose of this weathering was to give the sculpt a bit more depth.
With airbrush work complete, the gold parts were sealed with 2k urethane gloss clearcoat. My preferred brand for this sort of work is Nason 496-00 spot clear. It sprays wonderfully with very little sags or orange peel.
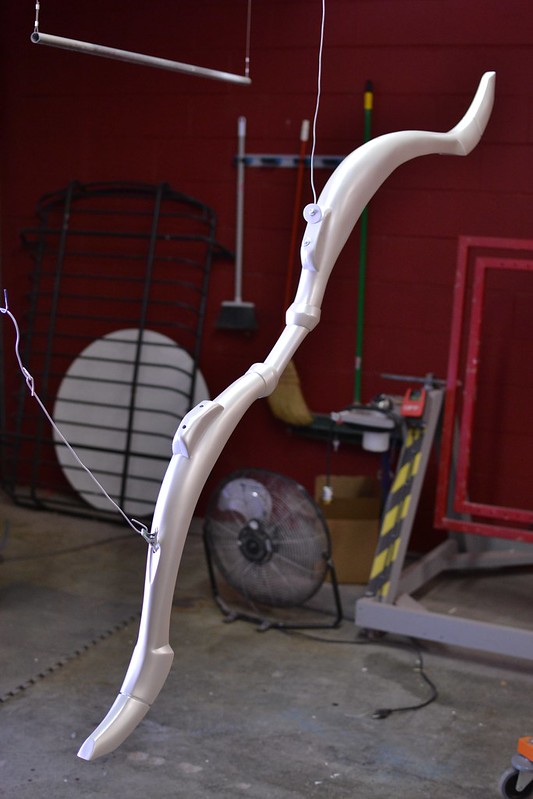
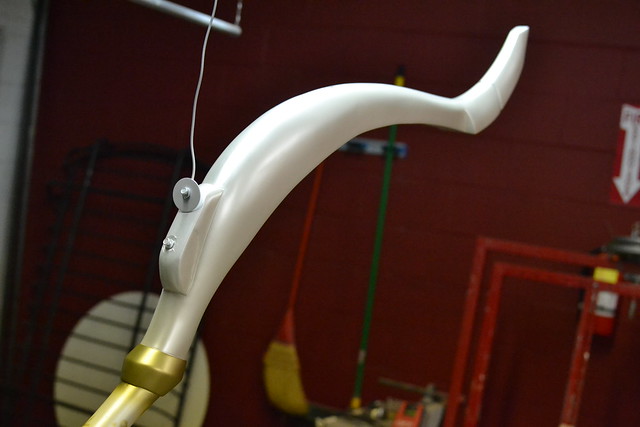
The only hurdle to painting the bow limbs were their sheer size. As they wouldn’t fit in my spray booth, these were painted open-air while suspended from my drying rack. A base of flat white followed by pearl white was applied, then the rings around the handle were masked off for gold. This was also clearcoated with Nason gloss.
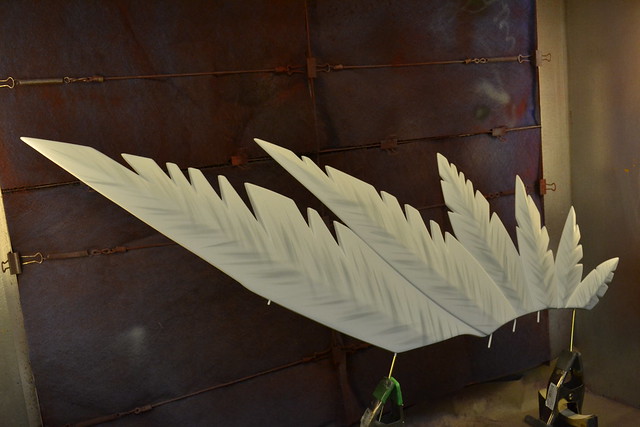
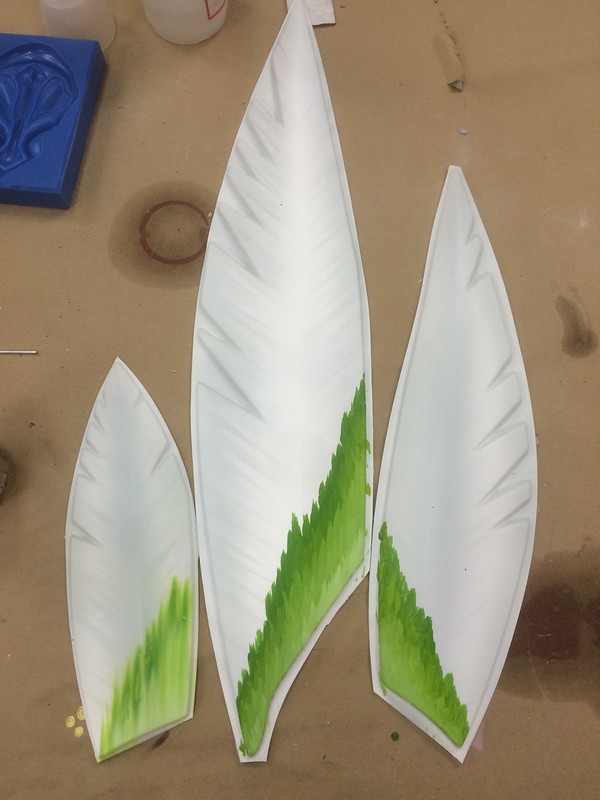
Painting the feathers was a lot of fun until I realized I had to repeat the process four times (both interior and exterior faces.) This started with a series of airbrush strokes through a set of pointed masks. This was followed up by blending the center of each feather into the gray strakes with more airbrushed gradients.
I went through several tests of the inner green paint before settling on one I liked. The final version was done with a dagger brush (typically used for pinstripe work) to create an overlapping series of triangles in different tints of green. The feathers were finished with a flat 2k urethane clear from 5 Star Xtreme (ugh that name… why do auto paint suppliers name their companies like a 12 year old that just got out of Fast and Furious 7?)
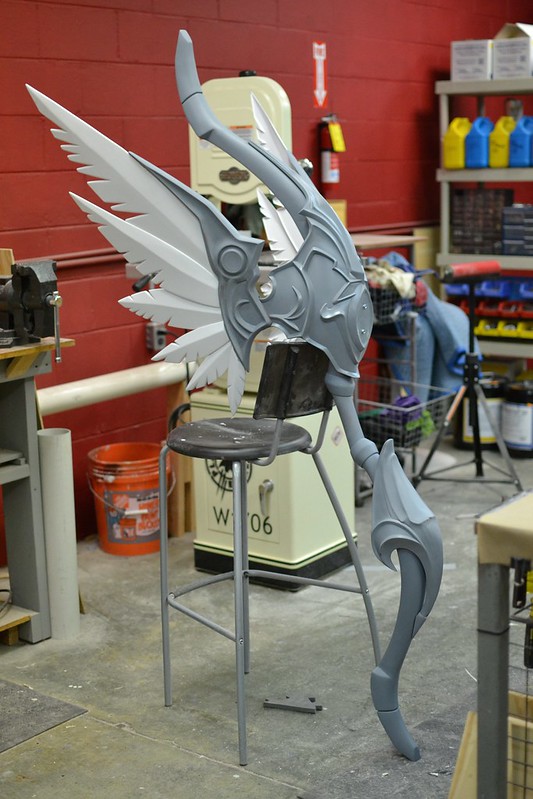
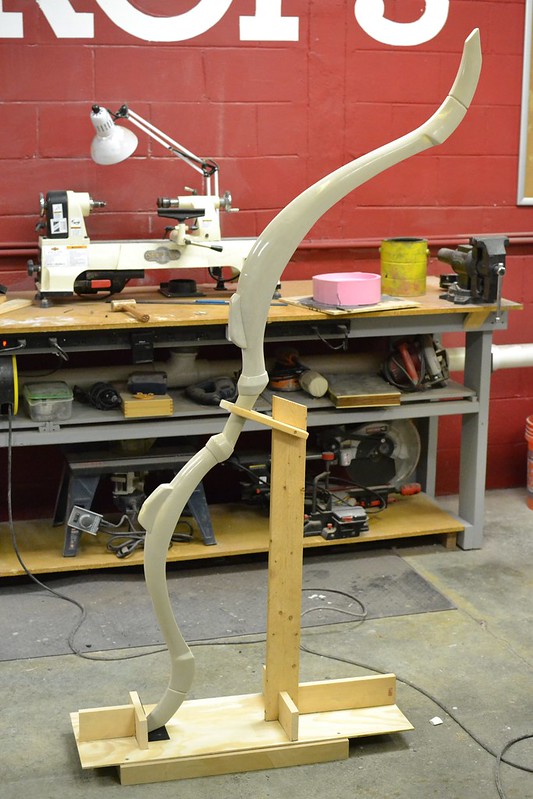
Assembly went very quickly after the paint work was done, thanks in large part to the assembly jig I made. Stands like this are critical to building large cumbersome props. It’s way too much hassle to try to balance things of this scale on a workbench.
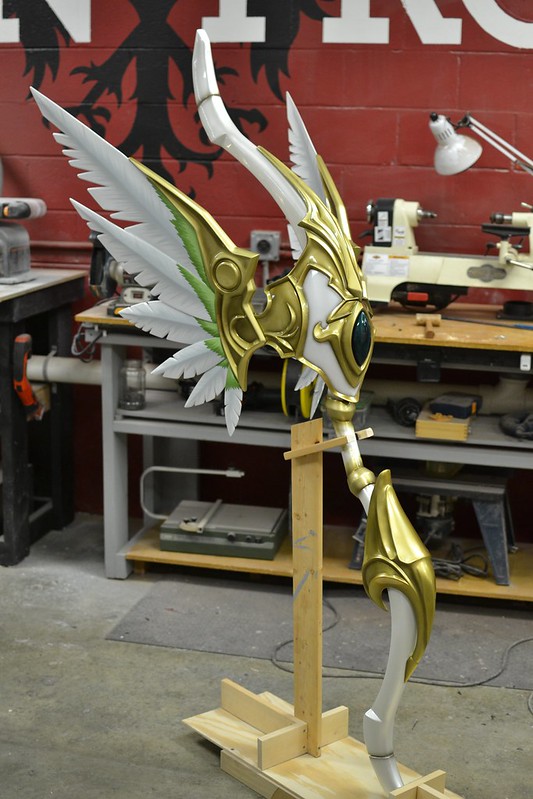
I’ve tried to put as much information as possible into these two articles, but with a project like this it’s very difficult to capture everything. If you’re after more information on the project please check out my flickr page for a ton more information about each stage of the build.
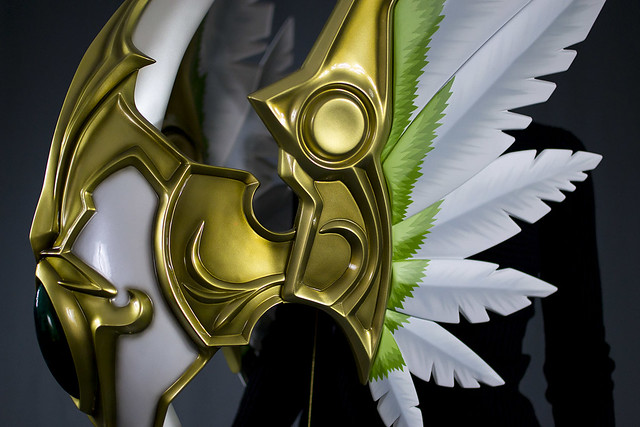
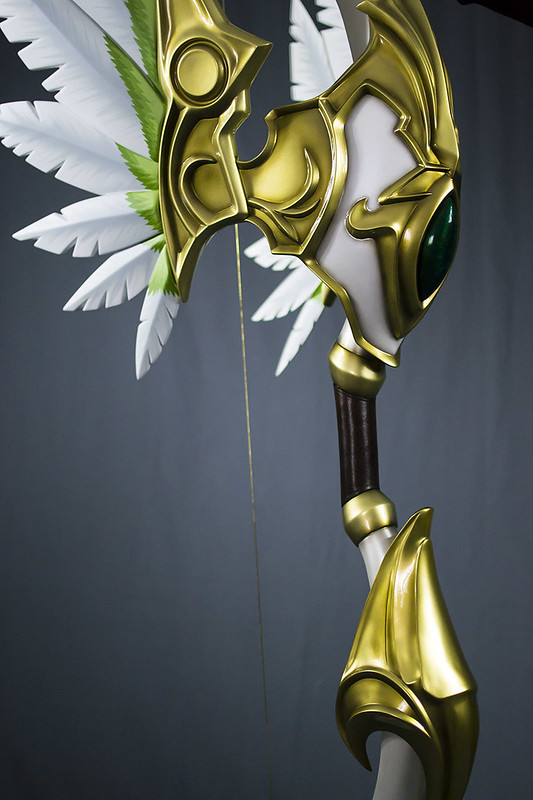
Here are a few finished shots of the bow – higher resolution photos are up in the gallery!
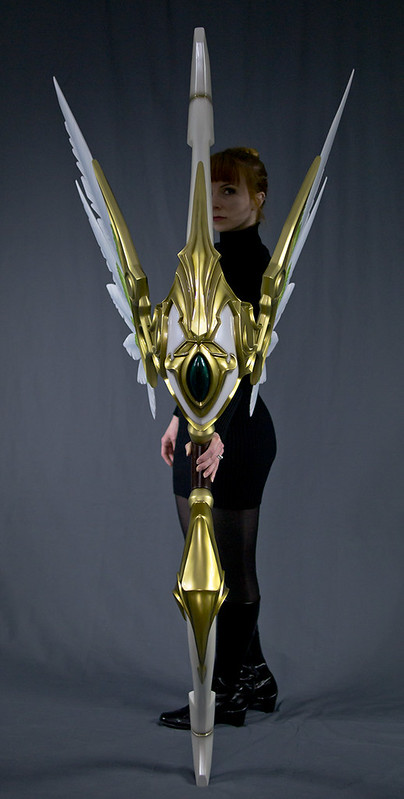
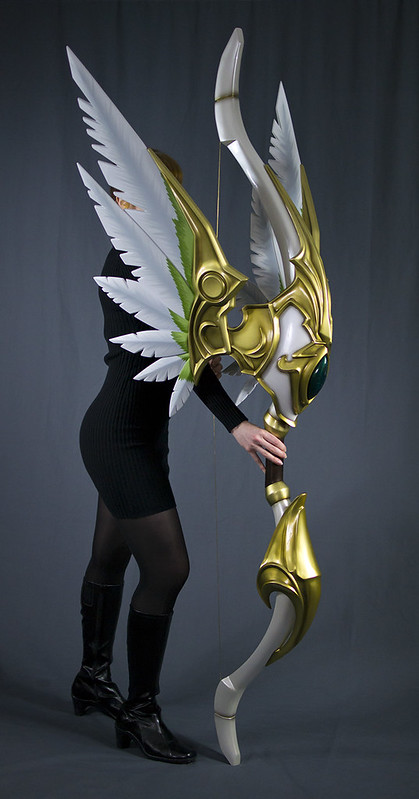
As always, thanks for reading! I know these have been some reeeeeally long blog entries, and with my projects getting more and more complicated, it looks like that might be the new standard over here.
All of the products listed in this write up are the products that I use and recommend. Some of them are provided as Amazon affiliate links, which help support Volpin Props.