
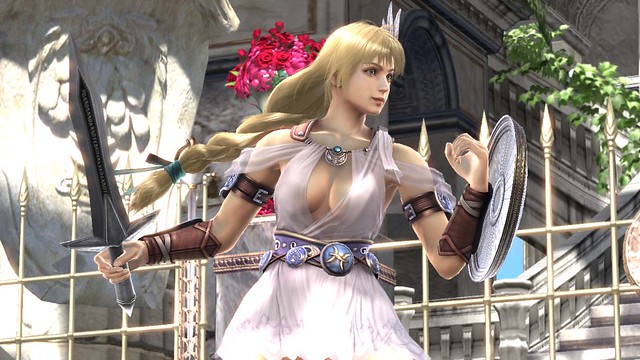
Sophitia’s Omega Sword, Soul Calibur IV
As a partner to the completed Elk Shield, I was asked to build a copy of Sophitia’s blade from Soul Calibur IV. The Omega Sword is actually quite similar to another weapon I’ve made a long time ago – Cassandra’s Digamma sword – but I wanted to try a few new techniques on this project.
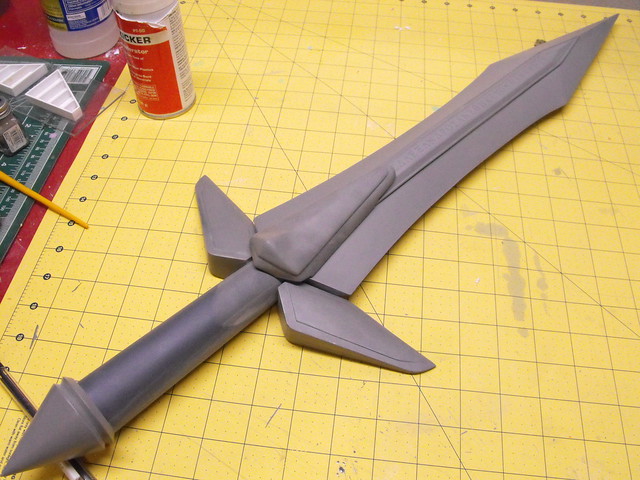
After creating a set of 2D blueprints, I set to work on the handle section first. The grip and pommel were both turned down from urethane resin blanks. The off coloration on the pommel comes from mixing two tinted resins into one cup simultaneously. This isn’t relevant to the project at hand, but it does look kind of cool.


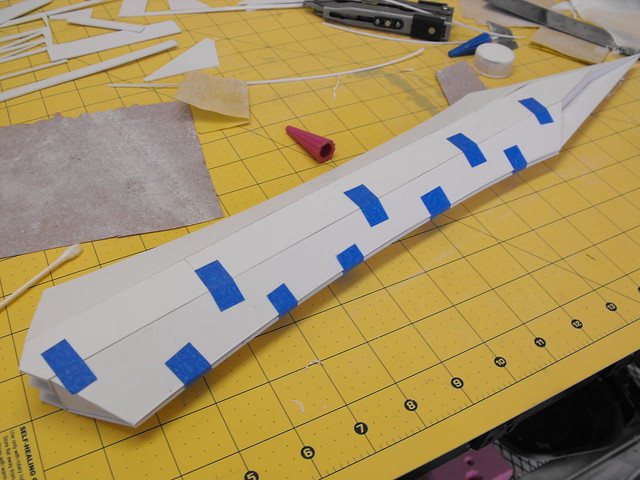
The blade was built in a pepakura-style combination of styrene sheets. This piece will end up being a master for a mold. While the technique I used made for an extremely lightweight piece, it would be very fragile. Good for less fatigue if you’re carrying it at a convention but you’d have to be super careful!
I started by trimming the center section of the blade out of some .060″ styrene sheet, then adding a center box for the raised shape that runs along the middle of the sword. To make sure this piece was secured at a 90º angle to the center blade spine, I used a piece of aluminum square tube as a jig when gluing it in place. Once one side was done, I repeated the process for the other half of the blade.


Small triangular parts were used as an interior structure for where the rest of the blade edges would be added. I also put in a few more structure-assisting shims along the center spine.

The side panels were angles I couldn’t determine exactly until the center of the blade was finished. For these, I laid paper over the opening and traced the pattern onto it, then transferred this shape to styrene. This shot shows one of the side panels being glued in place. This has a subtle compound curve down the side because of the concave blade shape.
This left me with a passable shape but it needed a bit of help to be crisp. Bondo was added in the seams and along the edges of the blade to make sure things were nice and pointy.

I repeated the process of sand, fill, repeat until the blade was ready for molding.


For the center raised letters, I lucked out and was able to re-use my mold from the Cassandra project. This piece started out as MDF sanded to shape, with styrene bar added around the perimeter for the raised details.

The lettering along the panel was cut at a local sign shop and added to the part before molding, so the finished resin piece would have a slight raised letter texture. This could also be done in reverse (letters cut out of a raised panel) if you were after a more engraved look.


For the cross guard and rain guard, I started with a few piece of acrylic that formed a perimeter shape. These were filled with apoxie sculpt and sanded down.


The rain guard was vacuumformed twice and the two styrene pulls layered on top of one another to create the final shape.
For the cross guard, I only made one piece – this would be molded and cast twice for one complete blade. Like the rain guard, a small piece of styrene was used for the raised detail.

Here’s the two parts being molded. I filled the rain guard with clay since it was a thin vacformed part and wasn’t thick enough for a pour mold without this backing.


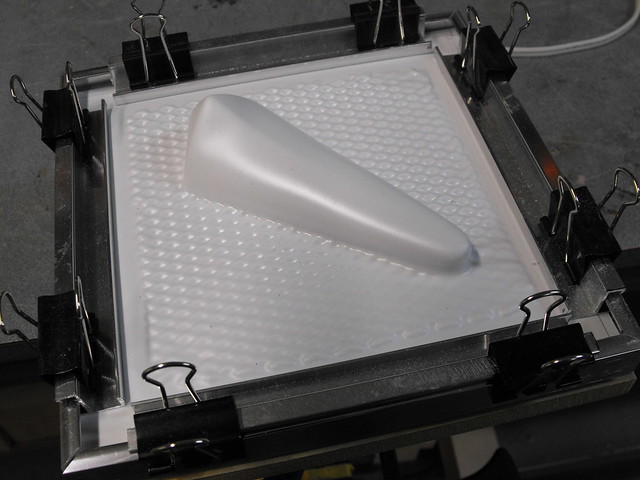
The blade was also clayed up for a large pour mold. The silicone used here is Smooth-On’s Mold Max 40. All of the parts were cold cast, a process that involves adding metal powder to a resin casting in order to give the cast parts a surface that can be polished.


My process for cold casting is first to “dust” the mold with the metal powder. For these blade parts I’m using 100% aluminum powder. (This is essentially a can of tiny metal flakes, so make sure to wear a respirator any time you’re cold casting so you don’t breathe in a million little razorblades.) Dusting the mold involves pouring a lot of powder over the surface to cover the entire interior, then lightly tapping any excess out onto a piece of paper to be used later. You want a very thin film of powder without any thick pockets in the detail crevices. Too thin and it won’t polish well; too thick and the resin won’t fill the area. Ideally, you don’t want to be able to see the color of the mold material after powdering.
Some tutorials will say to add powder to the resin before pouring. I’ve had mixed results with this, as it can change the physical properties of the cured resin and make it more brittle. It can also trap air in annoying places. Most of the time, I only dust my molds and don’t add the powder to the actual plastic.


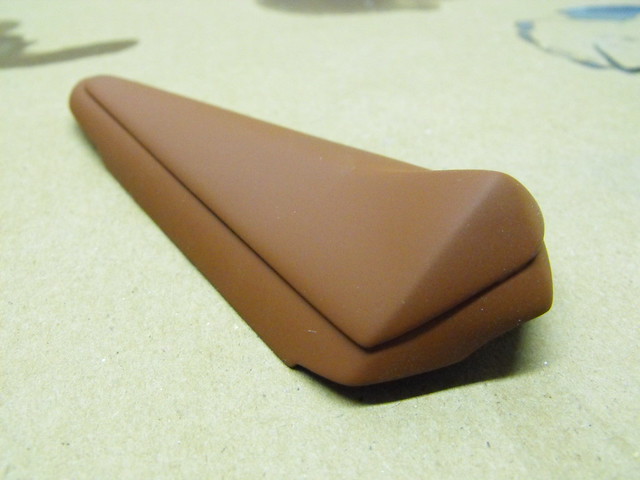
I also prefer to tint my resin gray to make sure any small missed spots aren’t obvious. Once you pull your parts out of the mold they’ll look dull and matte like this. When pouring, try to pour onto a part which does not need to be polished or will be hidden. The motion of the resin pouring into a mold will sometimes push away the dusted powder where you’re pouring and leave a small bare spot.

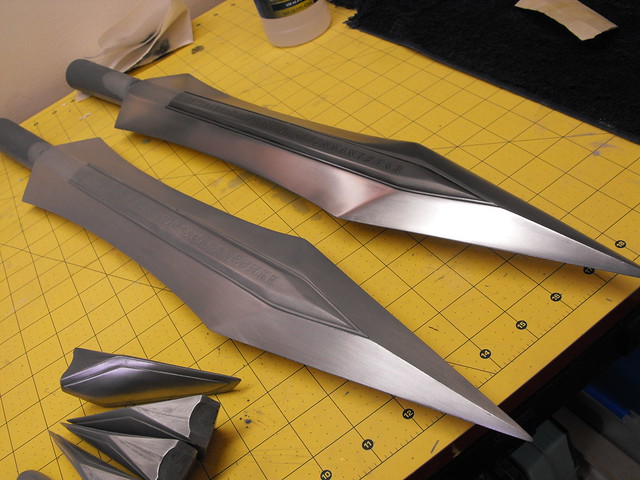
I start polishing first with some 0000 steel wool. This is very fine stuff and won’t last long before you’ll need to change pads. Don’t use too much pressure – you’re not sanding, just polishing. This will give you a “brushed” finish

For a polished look, I use aluminum wheel polish (my preferred brand is Mother’s) applied with a soft cloth. Excess in cracks and nooks needs to be cleaned out with q-tips or an old toothbrush. After a couple polishing passes, you’ll have a much shinier part! On the left in these photos is a piece with only 0000 steel wool, on the right is a polished blade.

After polishing all the parts to a high shine, I drilled holes in the blade for mounting pins. Pinning parts will make them far more stable than just putting glue on a joint, and this is especially useful for cosplay props that get knocked around a lot. The clearances on these parts was a bit tight, which is why the pins are all labeled down to the thousandth of an inch. I used 2 part epoxy to secure all the parts in place.


The handle wraps are gray leather and were created by my friend Cathy at God Save the Queen Fashions. After that, the swords were complete!

Here’s a few shots of the finished weapon – for higher res pics be sure to check out the gallery. For more process photos (I take too many to be included in every blog entry) take a look at my Flickr page.


Thanks for reading!
All of the products listed in this write up are the products that I used and can recommend. Some of them are provided as Amazon affiliate links, which help support Volpin Props.